Easy Chicken Caesar Wraps-Quick Lunch Recipe
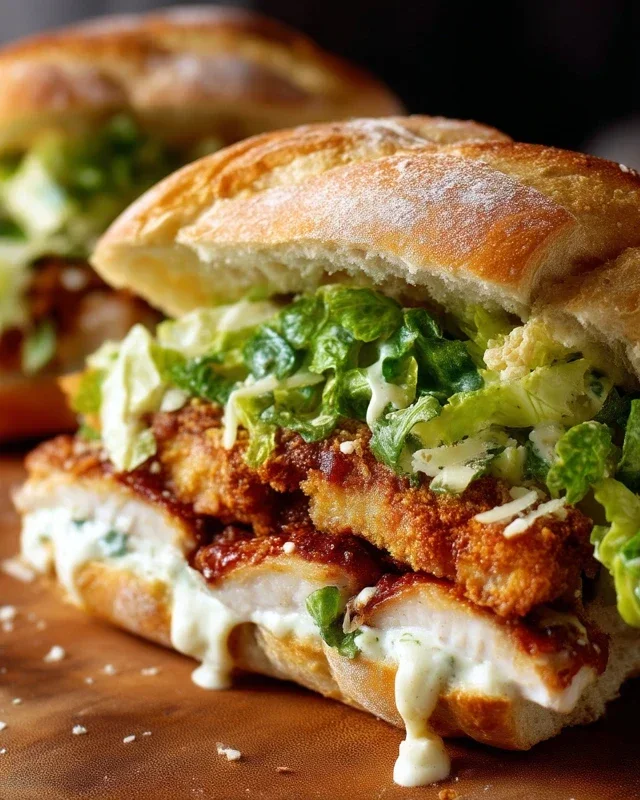
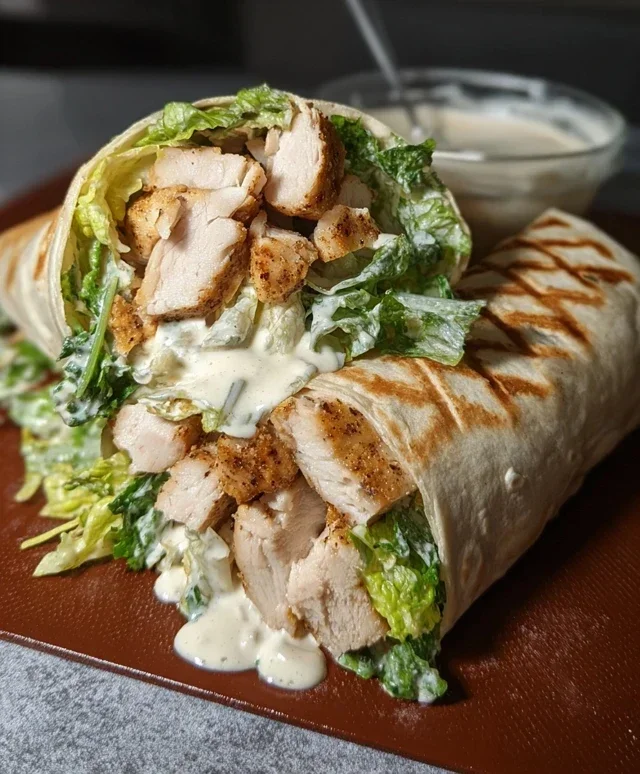
Chicken Caesar Wraps are more than just a quick lunch; they’re a culinary hug in a tortilla! We all have those days when only something satisfying, a little bit fancy, but ultimately easy to make will do. That’s precisely where the humble yet magnificent Chicken Caesar Wrap shines. It takes the beloved, classic Caesar salad – with its tangy dressing, crisp romaine, and savory Parmesan – and transforms it into a portable masterpiece. What makes this dish so universally loved? It’s the perfect harmony of textures and flavors: the juicy, seasoned chicken, the creamy, zesty dressing that clings perfectly to every leaf, the salty bite of Parmesan, and the satisfying crunch of croutons, all bundled up in a soft, pliable tortilla. It’s the ideal solution for busy weekdays, a picnic in the park, or even a casual dinner. Get ready to elevate your lunch game with this irresistible Chicken Caesar Wrap recipe!
Ingredients:
Chicken Caesar Wraps: A Quick and Delicious Meal
There’s something incredibly satisfying about a perfectly assembled wrap. It’s self-contained, portable, and can pack a serious flavor punch. And when it comes to flavor, the classic Chicken Caesar combination is a winner every time. These Chicken Caesar Wraps are my go-to for a busy weeknight dinner, a hearty lunch, or even a casual gathering with friends. They’re incredibly easy to whip up, requiring minimal fuss, yet deliver all the creamy, savory, and fresh flavors we love from a traditional Caesar salad.
What I love most about this recipe is its adaptability. You can customize the amount of dressing, cheese, or even add other ingredients if you’re feeling adventurous. But for the core experience, these few ingredients are all you need to create something truly delicious. Let’s get started on creating these delightful wraps!
Preparing the Chicken
The foundation of any good wrap is a well-seasoned and properly cooked protein. For our Chicken Caesar Wraps, we’re using simple boneless, skinless chicken breasts. These cook quickly and are easy to shred or dice for even distribution within the wrap.
1. Seasoning the Chicken: Before we even think about cooking, it’s crucial to season the chicken well. I like to pat the chicken breasts dry with paper towels – this helps the salt and pepper adhere better and promotes a nice sear. Then, I generously season both sides with salt and freshly ground black pepper. Don’t be shy with the seasoning; this is where a lot of the initial flavor comes from. You want to ensure that the chicken itself is delicious, not just a vehicle for the dressing.
2. Cooking the Chicken: You have a few options for cooking the chicken, but my preferred method for speed and ease is pan-searing. Heat a tablespoon of olive oil or your preferred cooking oil in a skillet over medium-high heat. Once the oil is shimmering, carefully place the seasoned chicken breasts in the pan. Cook for about 6-8 minutes per side, or until the chicken is golden brown and cooked through. The internal temperature should reach 165°F (74°C). Alternatively, you can grill the chicken for a smoky flavor or bake it in the oven at 400°F (200°C) for about 20-25 minutes. Once cooked, remove the chicken from the pan and let it rest on a cutting board for at least 5 minutes. This resting period is vital as it allows the juices to redistribute throughout the meat, resulting in more tender and moist chicken.
Assembling the Wraps
With our perfectly cooked chicken ready, it’s time to bring all the elements together for the ultimate wrap experience. The key here is to layer your ingredients strategically for the best texture and flavor distribution.
3. Shredding or Dicing the Chicken: Once the chicken has rested, you can either shred it using two forks or dice it into bite-sized pieces. Shredding gives you lovely, tender strands that mix beautifully with the dressing, while dicing provides more distinct pieces of chicken in every bite. I often lean towards shredding for a more traditional Caesar wrap feel.
4. Warming the Tortillas (Optional but Recommended): For a more pliable and enjoyable wrap experience, I like to slightly warm the tortillas. You can do this in a dry skillet over medium heat for about 30 seconds per side, or briefly in the microwave wrapped in a damp paper towel. This step makes them easier to roll and prevents them from tearing, especially if they are on the drier side.
5. Layering the Goodness: Now for the fun part – building the wraps! Lay out one warmed tortilla. Start by spreading a generous amount of Caesar dressing across the center of the tortilla, leaving a small border around the edges. Don’t be shy with the dressing; it’s what brings all the flavors together and adds that essential creaminess. Next, add a portion of the chopped romaine lettuce. I like to add the lettuce before the chicken and cheese so it doesn’t get completely overwhelmed by the other ingredients. Then, pile on a good amount of your shredded or diced chicken. Finally, sprinkle a generous amount of grated Parmesan cheese over the chicken. The Parmesan cheese adds a salty, nutty depth that is characteristic of Caesar salad.
6. Folding and Rolling the Wraps: This is where presentation and practicality come into play. To fold a wrap, first fold in the sides of the tortilla about one-third of the way over the filling. Then, starting from the bottom edge closest to you, tightly roll the tortilla upwards, enclosing the filling. Tuck in any stray lettuce or chicken as you roll to ensure a compact and tidy wrap. If your tortillas are very large and full, it can sometimes help to cut them in half once rolled for easier handling.
Enjoy your delicious and satisfying Chicken Caesar Wraps! They’re perfect for a quick lunch or a light dinner, and I’m sure you’ll find them just as addictive as I do.
Conclusion:
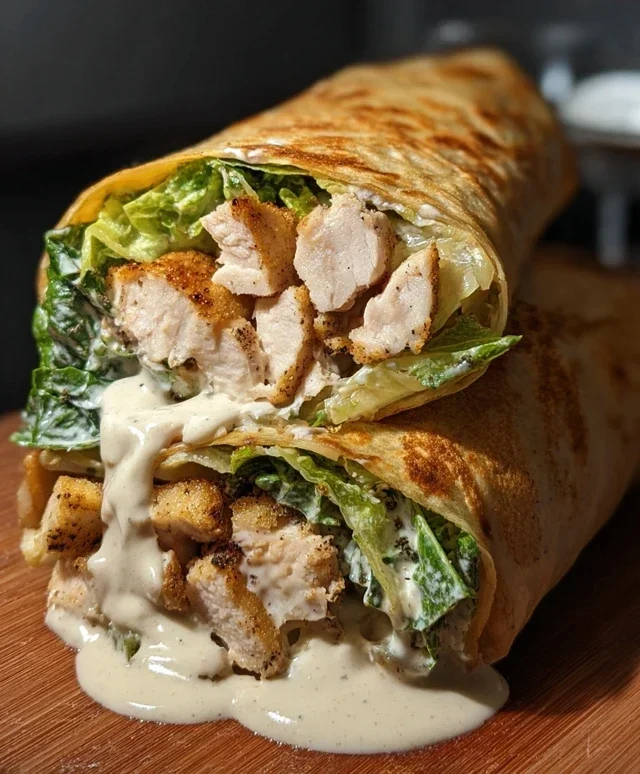
So there you have it – the ultimate guide to creating delicious and satisfying Chicken Caesar Wraps! I truly believe this recipe is fantastic because it’s quick, incredibly flavorful, and uses readily available ingredients. It’s the perfect answer to a busy weeknight dinner or a delightful packed lunch. The creamy Caesar dressing, tender chicken, and crisp romaine all come together in a portable, handheld package that’s simply irresistible. Don’t be afraid to customize this recipe to your liking!
For serving, these wraps are wonderful on their own, but they also pair beautifully with a side of crunchy tortilla chips, a fresh garden salad, or even some sweet potato fries. When it comes to variations, the possibilities are endless. You could try grilling your chicken for an extra smoky flavor, adding a sprinkle of parmesan cheese directly into the filling, or even swapping the romaine for peppery arugula. A dash of hot sauce can add a nice kick for those who enjoy a bit of heat.
I really encourage you to give these Chicken Caesar Wraps a try. I’m confident you’ll love how easy they are to make and how incredibly delicious they taste. They’re a true crowd-pleaser and a fantastic way to enjoy classic Caesar flavors in a fun, new format!
Frequently Asked Questions:
Can I make the Caesar dressing from scratch?
Absolutely! While store-bought dressing is convenient, making your own Caesar dressing is surprisingly simple and often yields a richer flavor. You’ll typically need ingredients like mayonnaise, Dijon mustard, Worcestershire sauce, lemon juice, garlic, and anchovy paste (or finely minced anchovy fillets). Blending these ingredients together will give you a fresh, homemade dressing that elevates your Chicken Caesar Wrap even further.
What if I don’t have tortillas?
No worries if you’re out of tortillas! You can easily adapt this recipe into a deconstructed bowl. Simply serve the seasoned chicken, romaine lettuce, croutons, and Caesar dressing over a bed of rice or quinoa, or even just as a hearty salad. You could also try using large lettuce leaves, like butter or romaine hearts, as a healthier wrap alternative.
Chicken Caesar Wraps
Easy and delicious chicken Caesar wraps perfect for a quick lunch or dinner.
Ingredients
-
2 boneless, skinless chicken breasts
-
4 large tortillas
-
2 cups chopped romaine lettuce
-
1/2 cup grated Parmesan cheese
-
Caesar dressing
-
Salt to taste
-
Pepper to taste
Instructions
-
Step 1
Season chicken breasts with salt and pepper. Cook chicken in a skillet over medium-high heat until thoroughly cooked and no longer pink, about 6-8 minutes per side. Let rest and then slice or shred. -
Step 2
While chicken is cooking, prepare the lettuce. Wash and chop the romaine lettuce. -
Step 3
Warm the tortillas slightly in a dry skillet or microwave to make them more pliable. -
Step 4
Assemble the wraps. Lay out a tortilla. Spread a layer of Caesar dressing down the center. -
Step 5
Top the dressing with chopped romaine lettuce, cooked chicken, and grated Parmesan cheese. -
Step 6
Fold in the sides of the tortilla and then tightly roll up from the bottom to create the wrap. -
Step 7
Serve immediately.
Important Information
Nutrition Facts (Per Serving)
It is important to consider this information as approximate and not to use it as definitive health advice.
Allergy Information
Please check ingredients for potential allergens and consult a health professional if in doubt.