Easy Vegan Mango Mousse Recipe- Tropical Bliss
Vegan Mango Mousse is a truly delightful dessert that’s both incredibly simple to make and astonishingly decadent. If you’re looking for a way to capture the vibrant essence of summer in a single spoonful, then look no further. This creamy, dreamy treat is a celebration of sunshine, transforming the sweet, tropical flavor of ripe mangoes into an ethereal mousse that melts in your mouth. People adore this dessert because it’s refreshingly light, bursting with natural sweetness, and free from any dairy or animal products, making it a perfect indulgence for vegans and anyone seeking a healthier, yet still utterly delicious, sweet ending. What truly makes our Vegan Mango Mousse special is its ability to taste so impossibly rich and satisfying with just a few wholesome ingredients. Get ready to impress yourself and your loved ones with this effortless masterpiece.
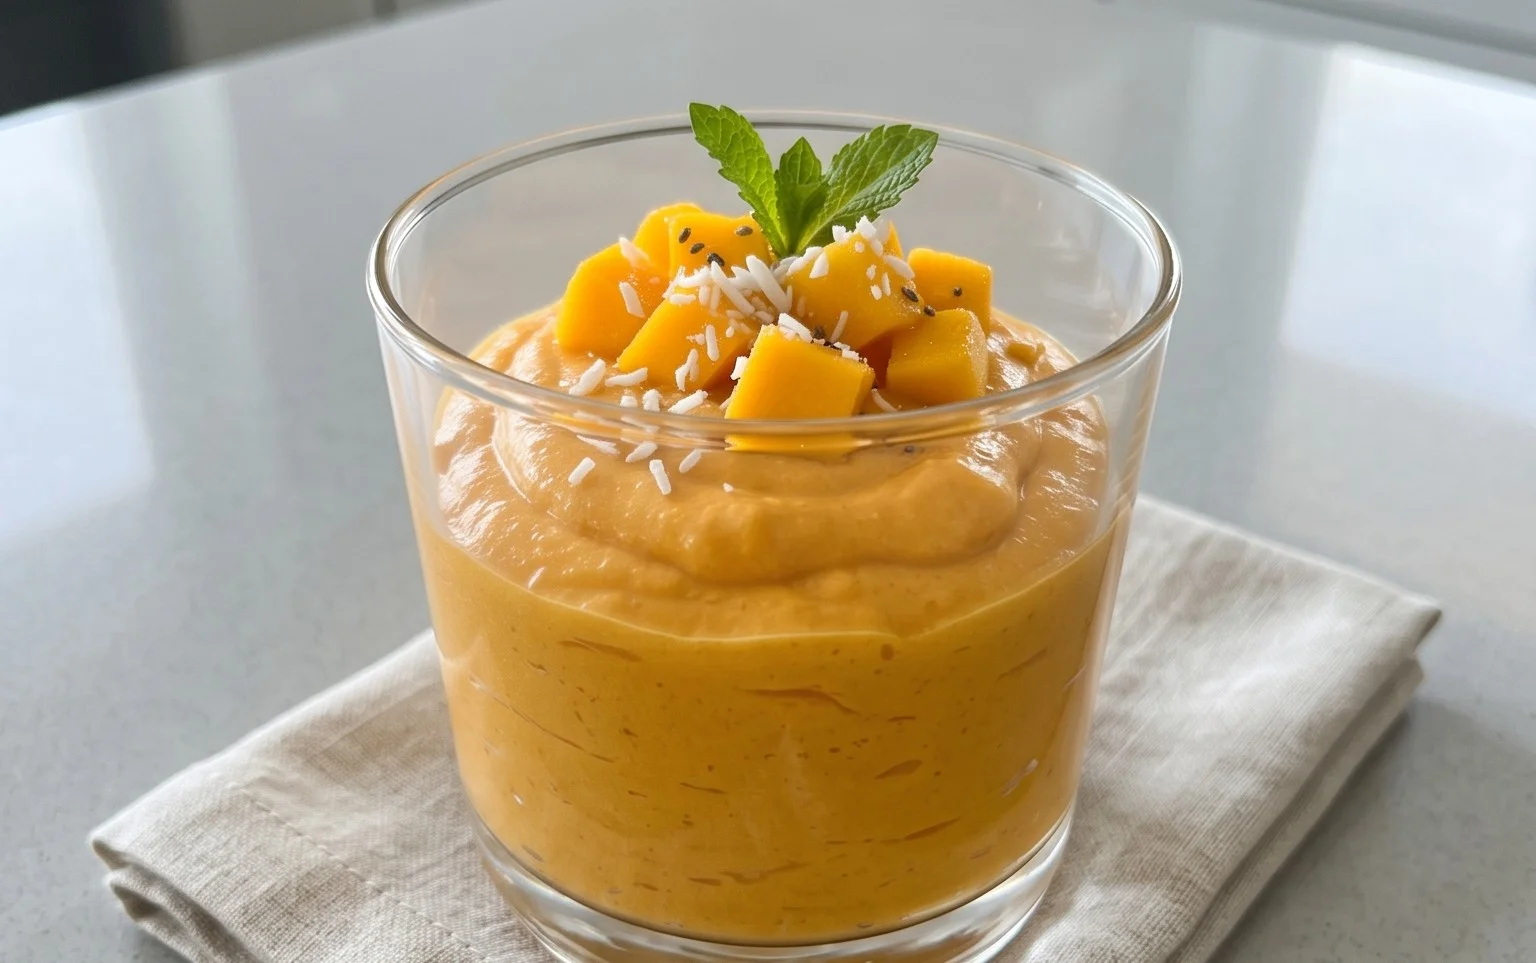
Vegan Mango Mousse
Get ready to experience a taste of pure tropical bliss with this incredibly simple yet utterly decadent Vegan Mango Mousse! If you’re a fan of mangoes, you’re going to fall head over heels for this dessert. It’s light, airy, bursting with natural sweetness, and the perfect way to end any meal or to enjoy as a delightful afternoon treat. What’s even better is that it requires minimal ingredients and effort, making it accessible for bakers of all levels. Forget complicated steps and hard-to-find items; this recipe is all about celebrating the vibrant flavor of fresh mangoes.
This mousse is naturally dairy-free and can be easily made gluten-free, making it a fantastic option for those with dietary restrictions or anyone looking for a healthier indulgence. The creamy texture comes from the magic of coconut cream, which, when chilled, whips up beautifully and provides a luxurious mouthfeel. The sweetness is perfectly balanced with agave syrup (or powdered sugar, if you prefer), allowing the star of the show – the mango – to truly shine. I love serving this in individual glasses or ramekins for an elegant presentation, but feel free to scoop it into larger bowls to share.
Let’s dive into what you’ll need to create this sunshine in a dessert.
Ingredients:
Preparing the Mangoes
The first and most crucial step in creating an exceptional mango mousse is selecting the right mangoes. You want them to be very ripe. This means they should yield slightly to gentle pressure, smell wonderfully fragrant, and have a vibrant, deep color. Underripe mangoes won’t have the sweetness or the intense flavor needed for this mousse. Once you have your perfectly ripe mangoes, the next step is to peel them. You can use a sharp knife to carefully slice off the skin, or if you’re feeling adventurous, you can use a vegetable peeler. After peeling, slice the mango flesh away from the large, flat pit in the center. The best way to do this is to stand the mango upright, slice down each side of the pit, and then score the flesh in a grid pattern. You can then push the skin inwards to pop out the cubes of mango, or simply scoop them out with a spoon. Discard the pit and any remaining skin.
Creating the Mango Puree
Once your mangoes are peeled and prepped, it’s time to transform them into a smooth, luscious puree. I find the easiest way to achieve a silky-smooth consistency is by using a blender or a food processor. Place all the prepared mango flesh into your blender. If your mangoes are particularly fibrous, you might want to give them a quick pulse or two before adding any liquids to break down any stubborn strings. The goal here is a completely smooth, lump-free puree. You want to get every bit of that glorious mango flavor into our mousse. Don’t rush this step; a good puree is the foundation of a great mousse.
Whipping the Coconut Cream
This is where the magic happens and our mousse gets its airy, cloud-like texture. For best results, it’s essential to use full-fat canned coconut cream and to ensure it’s been chilled in the refrigerator for at least 12-24 hours. This chilling process causes the thick cream to separate from the watery part, and it’s the solid, fatty cream that we need for whipping. Open the chilled can carefully, and scoop out only the thick, solid cream from the top. You can reserve the liquid for other uses, like smoothies or curries. Place the thick coconut cream into a chilled mixing bowl. Using an electric mixer (a hand mixer or a stand mixer will work wonderfully), whip the coconut cream on medium-high speed. You’re looking for it to become light, fluffy, and to hold soft peaks. Be careful not to over-whip, or it can turn grainy. This usually takes about 3-5 minutes.
Combining and Sweetening
Now that we have our smooth mango puree and our fluffy whipped coconut cream, it’s time to bring them together. Gently add the whipped coconut cream to the mango puree. It’s important to fold these two components together rather than vigorously stirring. This helps to maintain the airiness of the whipped cream, ensuring a light and delicate mousse. Use a spatula and gently sweep it around the sides of the bowl, lifting the mango mixture from the bottom and folding it over the cream. Continue this gentle folding motion until everything is just combined. You want to see streaks of mango and cream, but no distinct layers. Next, it’s time to add the sweetener. Drizzle in the agave syrup (or sprinkle in the powdered sugar). Again, gently fold to incorporate the sweetener evenly throughout the mousse. Taste a small spoonful to ensure the sweetness is to your liking. You can add a little more sweetener if needed, but remember that ripe mangoes are naturally quite sweet.
Chilling and Serving
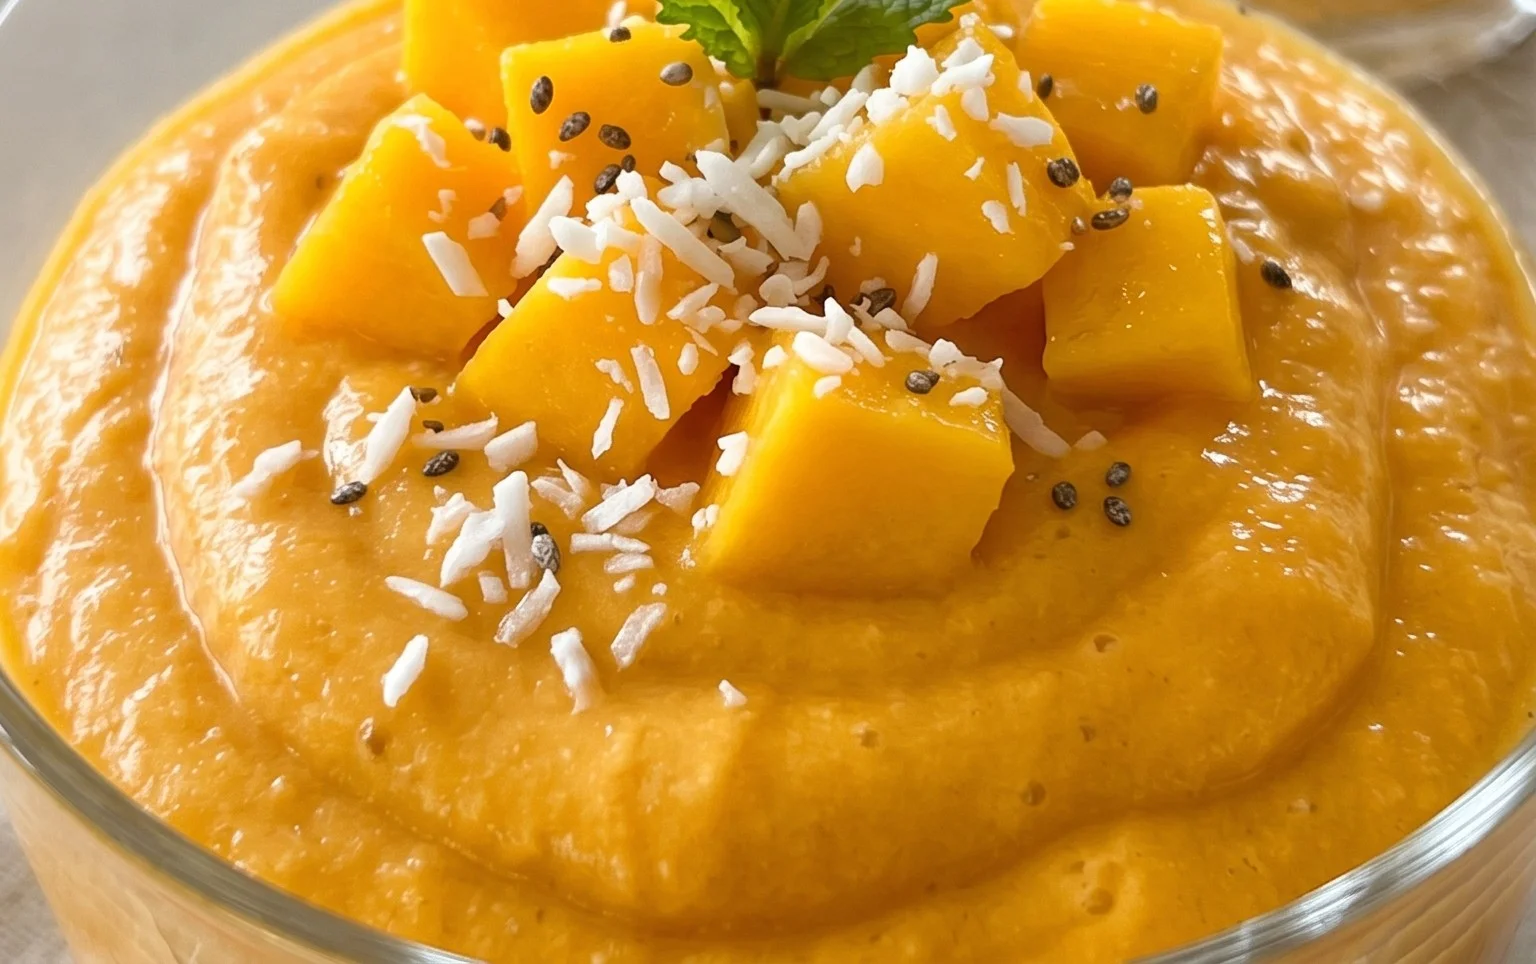
Once your vegan mango mousse is perfectly blended and sweetened, it’s time to let it work its magic in the refrigerator. Spoon the mousse into your desired serving glasses, ramekins, or a larger serving dish. Cover each serving (or the main dish) with plastic wrap, making sure the wrap touches the surface of the mousse to prevent a skin from forming. Place the mousse in the refrigerator for at least 2-3 hours, or ideally, until it’s well chilled and set. This chilling time is crucial for the flavors to meld beautifully and for the mousse to achieve its characteristic firm yet delicate texture. Before serving, you can garnish your vegan mango mousse with fresh mango cubes, a sprig of mint, toasted coconut flakes, or even a drizzle of passion fruit pulp for an extra burst of tropical flavor. Enjoy this delightful, creamy, and refreshing dessert that’s sure to transport you straight to a sun-drenched beach!
Conclusion:
I hope you’re as excited as I am to dive into making this utterly delicious Vegan Mango Mousse! This recipe is truly a winner because it’s incredibly simple to whip up, requiring no complicated techniques or hard-to-find ingredients. The result is a luxuriously smooth, creamy, and naturally sweet dessert that tastes like pure sunshine in a bowl. It’s the perfect light and refreshing treat for any occasion, from a casual weeknight indulgence to a show-stopping finnon-alcoholic ale for a special gathering. Don’t be shy; I truly encourage you to give this vegan mango mousse a try. You won’t regret it!
For serving, I love garnishing my mousse with fresh mango cubes, a sprinkle of toasted coconut flakes, or a sprig of mint. It looks beautiful and adds lovely texture. You can also swirl in some passionfruit pulp for an extra tropical kick, or even layer it with crushed vegan shortbread cookies for a parfait-style dessert. The possibilities are endless!
Frequently Asked Questions:
Can I use frozen mango for this Vegan Mango Mousse?
Absolutely! Using frozen mango is a fantastic way to achieve a thicker, colder mousse without needing as much ice or chilling time. Simply thaw it slightly before blending until it’s scoopable but not completely liquid. This is a great shortcut for an even quicker dessert.
What can I use instead of coconut milk?
If you’re not a fan of coconut milk or have an allergy, you can experiment with other full-fat plant-based milks like cashew milk or even a thick, unsweetened soy milk. However, keep in mind that the texture and flavor might vary slightly. For the creamiest result, a higher fat content in the milk is generally best.
How long does this mousse last in the refrigerator?
This vegan mango mousse is best enjoyed within 2-3 days of making. Store it in an airtight container in the refrigerator. While it will remain safe to eat after that, the texture might change slightly, becoming a bit firmer.
Vegan Mango Mousse
A light and creamy vegan mango mousse, perfect for a refreshing dessert.
Ingredients
-
3 ripe mangoes, peeled and cubed
-
1 ½ cup full-fat coconut cream, chilled
-
3 tbsp agave syrup
-
1 tsp lime juice
-
Pinch of cardamom (optional)
-
Fresh mint leaves for garnish (optional)
Instructions
-
Step 1
Peel and cube the ripe mangoes. -
Step 2
Place the mango cubes into a blender. -
Step 3
Add the chilled coconut cream, agave syrup, and lime juice to the blender. -
Step 4
Blend on high speed until completely smooth and creamy. -
Step 5
If using, add a pinch of cardamom and blend for a few more seconds. -
Step 6
Pour the mousse into individual serving glasses or bowls. -
Step 7
Chill in the refrigerator for at least 1 hour before serving, or until set. -
Step 8
Garnish with fresh mint leaves if desired before serving.
Important Information
Nutrition Facts (Per Serving)
It is important to consider this information as approximate and not to use it as definitive health advice.
Allergy Information
Please check ingredients for potential allergens and consult a health professional if in doubt.