Easy Honey Garlic Chicken Breasts-Quick & Flavorful Recipe
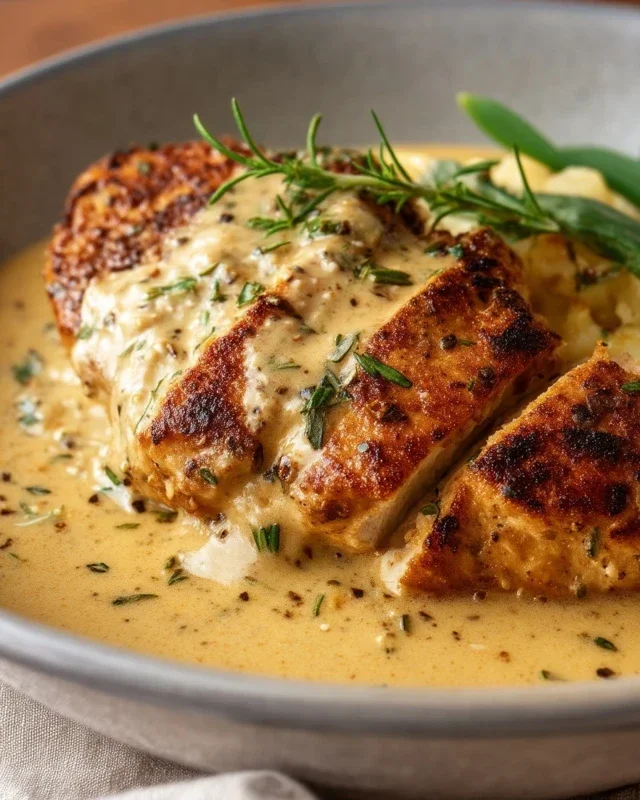
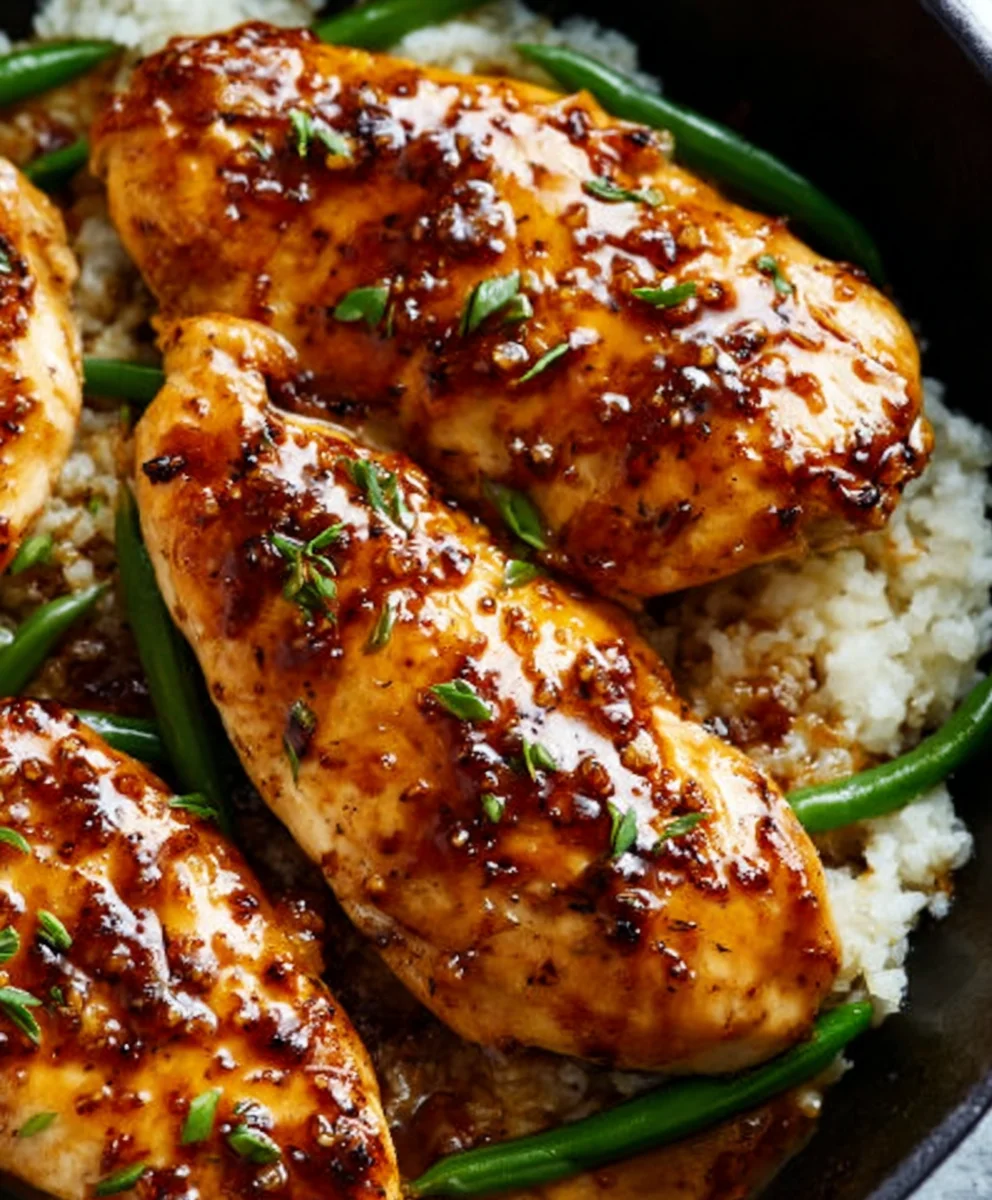
Honey Garlic Chicken Breasts are more than just a weeknight dinner; they’re a culinary hug that consistently delivers smiles around the table. What is it about this seemingly simple combination that captures our hearts and taste buds? It’s the perfect alchemy of sweet, savory, and utterly irresistible. The way the golden honey caramelizes, mingling with the pungent kick of garlic, creates a glaze that is nothing short of magical. This dish is beloved because it’s incredibly forgiving, incredibly adaptable, and always a crowd-pleaser. Whether you’re a seasoned home cook looking for a quick yet impressive meal or a begin extractner venturing into the kitchen, these Honey Garlic Chicken Breasts offer a gateway to deliciousness. What truly sets our rendition apart is the careful balance of flavors, ensuring every bite is a harmonious symphony of sweet and garlicky goodness, without being overpowering. Get ready to discover your new go-to recipe for tender, juicy chicken breasts bathed in an unforgettable honey garlic sauce!
Ingredients:
- 2 large boneless, skinless chicken breasts
- 4 cloves garlic
- 2 tablespoons soy sauce
- 2 tablespoons honey
Preparing the Chicken and Aromatics
The foundation of this delicious Honey Garlic Chicken Breasts recipe begin extracts with properly preparing your ingredients. Start with your two large boneless, skinless chicken breasts. It’s crucial to ensure they are of a similar thickness for even cooking. If one breast is significantly thicker than the other, you can gently pound the thicker part with a meat mallet or the bottom of a heavy pan, placing the chicken between two pieces of plastic wrap or parchment paper to prevent sticking and tearing. This ensures that the entire chicken breast cooks through at the same rate, preventing dry, overcooked edges or undercooked centers. Next, let’s tackle the garlic. You’ll need four cloves of garlic. The best way to get the most flavor from your garlic is to mince it finely. You can use a garlic press for a super fine mince, or a sharp knife and a cutting board. Don’t be afraid of a little garlic; it’s a key player in that irresistible honey garlic flavor. Set your minced garlic aside.
Creating the Honey Garlic Sauce
Now, let’s whisk together the magic for our Honey Garlic Chicken Breasts. In a small bowl, combine your two tablespoons of soy sauce and two tablespoons of honey. Whisk these together until the honey is fully incorporated into the soy sauce, creating a smooth, glossy sauce. This is your base for the glaze that will coat the chicken. The soy sauce provides a savory, umami depth, while the honey brings that signature sweetness and helps create a beautiful caramelized finish on the chicken. If you like a little heat, you could add a pinch of red pepper flakes to this sauce at this stage, though it’s entirely optional for this classic version. Make sure there are no pockets of unmixed honey at the bottom of the bowl.
Searing the Chicken
We’re going to get a beautiful sear on our chicken breasts to lock in their juices and add wonderful texture. Heat a tablespoon of your preferred cooking oil (like olive oil or vegetable oil) in a large skillet or frying pan over medium-high heat. You want the pan to be hot, but not smoking. Carefully place your prepared chicken breasts into the hot skillet. Avoid overcrowding the pan, as this can cause the chicken to steam rather than sear. If your skillet isn’t large enough for both breasts to have some space, it’s better to cook them in batches. Let the chicken cook undisturbed for about 5-7 minutes on the first side. You’re looking for a beautiful golden-brown crust to form. This searing process is essential for flavor development and creating a visually appealing dish.
Infusing with Garlic and Glazing
Once the first side of your chicken breasts has developed a nice golden-brown sear, it’s time to introduce the garlic and the glorious honey garlic sauce. Carefully flip the chicken breasts over. Now, add your minced garlic to the skillet, scattering it around the chicken. The residual heat from the pan and the chicken will help toast the garlic, releasing its fragrant aroma without burning it. Let the garlic cook for about 30 seconds to a minute, just until it becomes fragrant. Be vigilant here; burnt garlic can turn bitter. Immediately after the garlic has released its aroma, pour your prepared honey garlic sauce evenly over the chicken breasts in the skillet. The saucegin extractll begin to bubble and thicken as it heats up.
Simmering and Finishing the Glaze
With the honey garlic sauce now in the pan, reduce the heat to medium-low. Continue to cook the chicken, basting it frequently with the sauce from the pan. Use a spoon or a basting brush to scoop up the sauce and spoon it over the top of the chicken breasts. This process of basting ensures that every surface of the chicken is coated with that delicious, sticky honey garlic glaze. The sauce will continue to thicken and reduce, becoming more syrupy. This usually takes another 5-10 minutes, depending on the thickness of your chicken breasts and the heat of your stove. You’ll know the chicken is cooked through when it reaches an internal temperature of 165 degrees Fahrenheit (74 degrees Celsius) when tested with a meat thermometer in the thickest part, or when the juices run clear. The glaze should be thick enough to coat the back of a spoon. Be careful not to overcook the chicken, as it can become dry.
Resting and Serving
Once your Honey Garlic Chicken Breasts have reached the perfect internal temperature and are beautifully glazed, remove them from the skillet and place them on a clean cutting board. It is absolutely vital to let the chicken rest for at least 5-10 minutes before slicing. This resting period allows the juices within the chicken to redistribute throughout the meat. If you cut into it immediately, all those delicious juices will run out onto the cutting board, leaving you with drier chicken. While the chicken is resting, you can quickly simmer the remaining sauce in the pan for another minute or two to further thicken it, if desired. Spoon this extra glaze over the sliced chicken just before serving. This Honey Garlic Chicken Breasts recipe is incredibly versatile and pairs wonderfully with steamed rice, roasted vegetables, or a fresh side salad.
Conclusion:
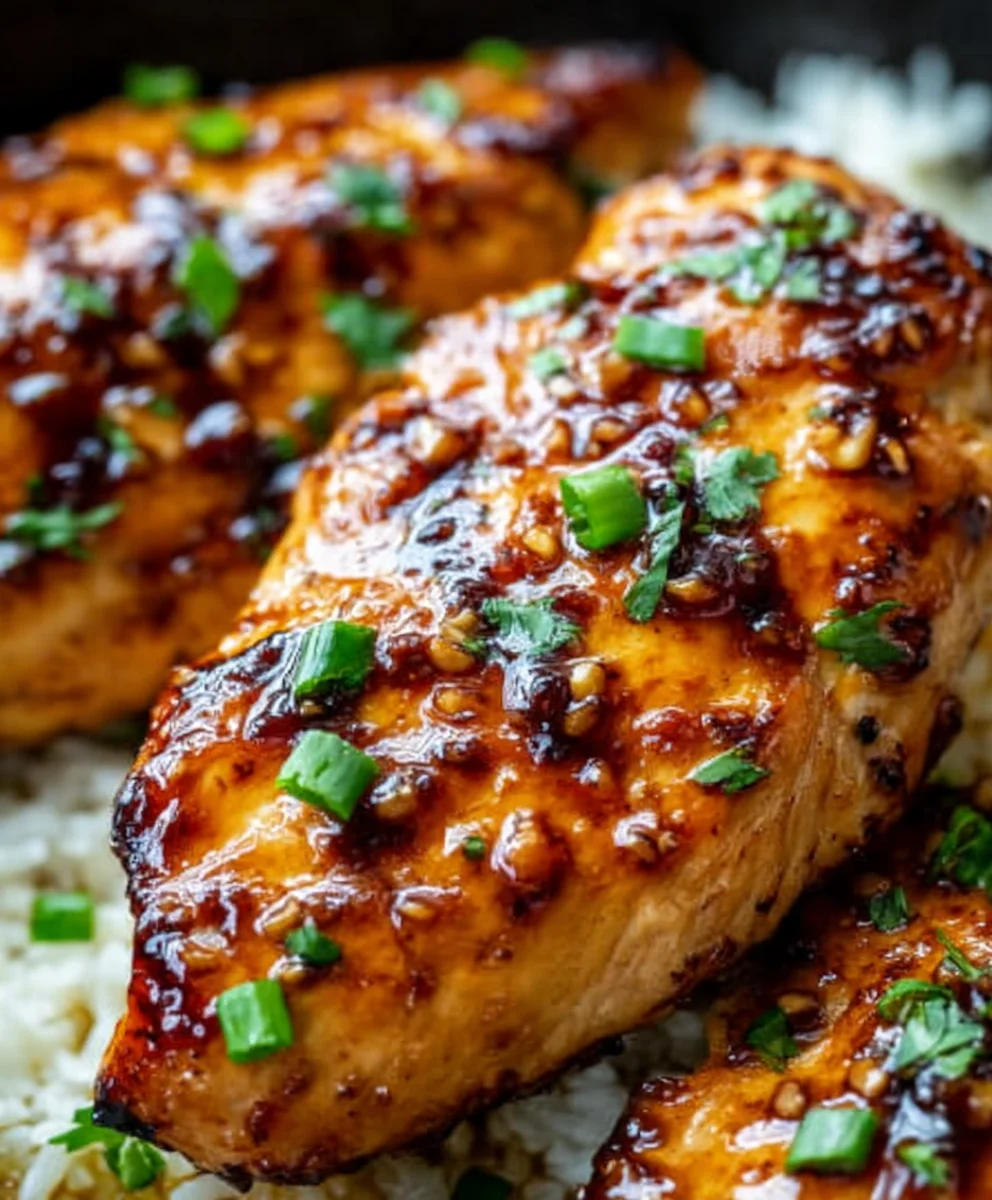
You’ve done it! You’ve successfully created delicious and flavorful Honey Garlic Chicken Breasts. This recipe is a weeknight lifesaver, delivering impressive taste with minimal fuss. The perfect balance of sweet honey and savory garlic creates a truly irresistible glaze that coats tender chicken breasts beautifully. Don’t be afraid to experiment and make this dish your own; it’s incredibly versatile!
For serving, these Honey Garlic Chicken Breasts pair wonderfully with steamed rice, roasted broccoli, or a fresh side salad. You can also dice the cooked chicken and toss it with pasta for a quick and satisfying meal. Feeling adventurous? Try adding a pinch of red pepper flakes for a hint of heat, or a splash of soy sauce for an extra umami boost. No matter how you choose to enjoy it, I encourage you to whip up this delightful dish again and again!
Frequently Asked Questions about Honey Garlic Chicken Breasts:
Q1: Can I use chicken thighs instead of breasts for this recipe?
Absolutely! Chicken thighs are a fantastic alternative and will yield an even more succulent result due to their higher fat content. The cooking time may need to be slightly adjusted, so keep an eye on them until they reach an internal temperature of 165°F (74°C).
Q2: How long will leftover Honey Garlic Chicken Breasts last in the refrigerator?
Leftovers will stay fresh in an airtight container in the refrigerator for up to 3-4 days. They are delicious reheated gently on the stovetop or in the oven, or can be used cold in salads or sandwiches.
Easy Honey Garlic Chicken Breasts-Quick & Flavorful Recipe
A quick and flavorful recipe for delicious honey garlic chicken breasts, perfect for a weeknight meal. The chicken is seared to perfection and coated in a sticky, sweet, and savory glaze.
Ingredients
-
2 large boneless, skinless chicken breasts
-
4 cloves garlic, minced
-
2 tablespoons soy sauce
-
2 tablespoons honey
-
1 tablespoon cooking oil (e.g., olive oil or vegetable oil)
Instructions
-
Step 1
Prepare the chicken breasts by ensuring they are of similar thickness for even cooking. Mince the four cloves of garlic finely. Set aside. -
Step 2
In a small bowl, whisk together 2 tablespoons of soy sauce and 2 tablespoons of honey until fully incorporated to create the honey garlic sauce. Add a pinch of red pepper flakes if desired for a touch of heat. -
Step 3
Heat 1 tablespoon of cooking oil in a large skillet over medium-high heat. Carefully place the chicken breasts in the hot skillet, ensuring not to overcrowd the pan. Sear for 5-7 minutes on the first side until a golden-brown crust forms. -
Step 4
Flip the chicken breasts and add the minced garlic to the skillet, scattering it around the chicken. Cook for 30 seconds to 1 minute until fragrant, then pour the honey garlic sauce evenly over the chicken. -
Step 5
Reduce heat to medium-low and simmer for another 5-10 minutes, basting the chicken frequently with the sauce. Cook until the chicken reaches an internal temperature of 165°F (74°C) and the glaze is thick and syrupy. -
Step 6
Remove chicken from the skillet and let it rest on a cutting board for 5-10 minutes before slicing. Spoon any remaining thickened glaze over the sliced chicken before serving.
Important Information
Nutrition Facts (Per Serving)
It is important to consider this information as approximate and not to use it as definitive health advice.
Allergy Information
Please check ingredients for potential allergens and consult a health professional if in doubt.