Spicy Buffalo Chicken Sliders-Easy Appetizer Recipe
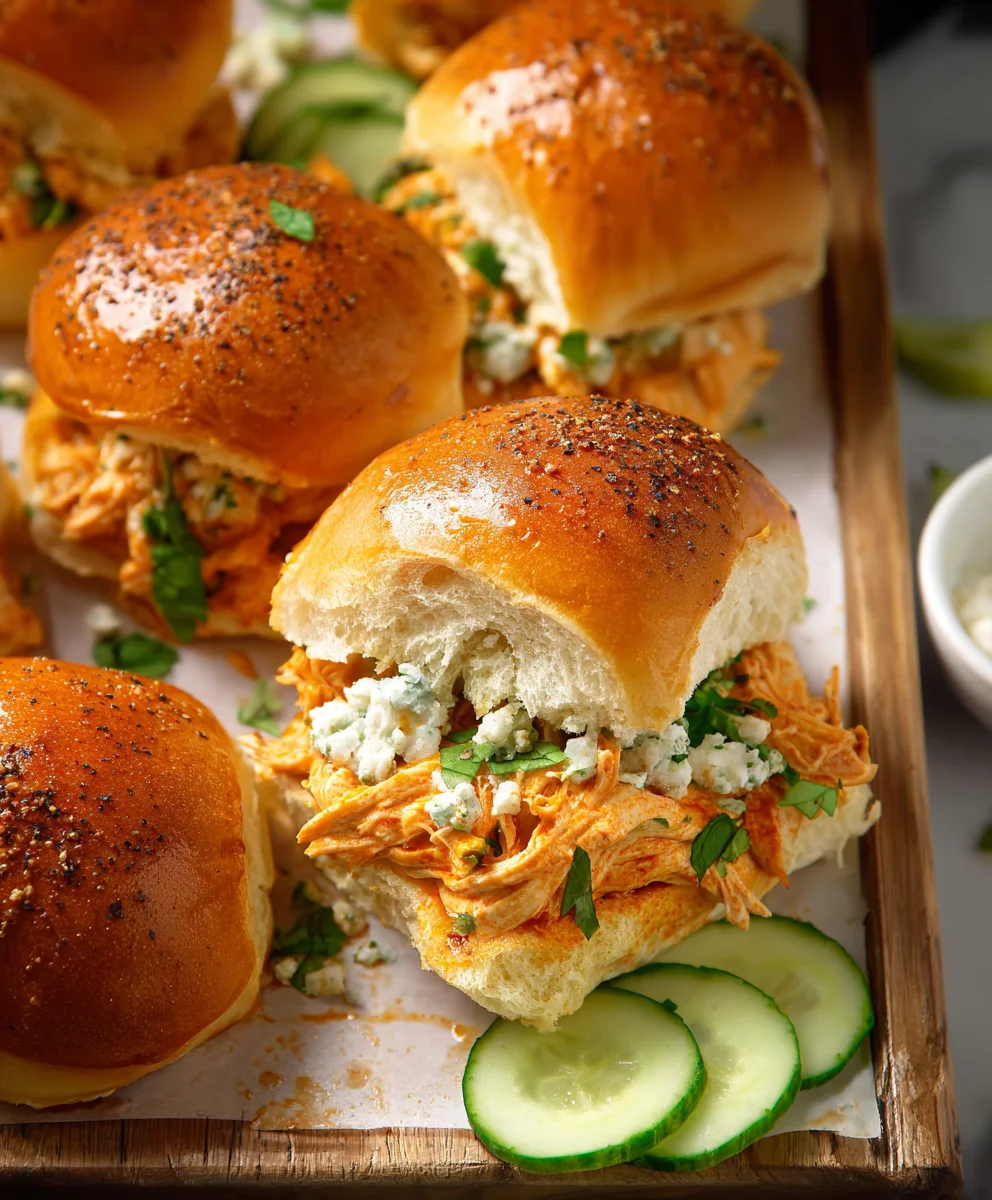
Buffalo Chicken Sliders are more than just a game-day snack; they’re a flavor explosion waiting to happen! What is it about these mini sandwiches that makes them so universally adored? It’s the perfect harmony of tangy, spicy buffalo sauce clingin extractg to tender, shredded chicken, all nestled between soft, pillowy slider buns. This isn’t just about heat; it’s about a complex dance of savory, creamy, and a hint of sweetness that ignites your taste buds. People love them because they’re incredibly versatile – perfect for a Super Bowl party, a casual weeknight dinner, or even a fun lunch. But what truly sets these Buffalo Chicken Sliders apart is the depth of flavor we’re going to unlock. We’re talking about a homemade buffalo sauce that’s got just the right kick, perfectly cooked chicken that shreds like a dream, and the subtle magic of a few extra touches that elevate them from good to unforgettable. Get ready to impress yourself and everyone lucky enough to snag one of these delightful Buffalo Chicken Sliders.
Ingredients:
- 3 cups rotisserie chicken, shredded
- 1 package Kings Hawaiian Rolls (12 count)
- 1/2 cup Ranch dressing
- 1/2 cup Frank’s buffalo sauce
- 1/4 cup butter, melted
- 1/2 teaspoon garlic powder
- 1 cup cheddar cheese, shredded
- 1 cup mozzarella cheese, shredded
Buffalo Chicken Sliders Preparation
Step 1: Prepare the Buffalo Chicken Filling
The foundation of our delicious Buffalo Chicken Sliders is, of course, the chicken. Start by taking your 3 cups of shredded rotisserie chicken and place it in a medium-sized mixing bowl. This is where we’ll transform simple shredded chicken into a flavor-packed buffalo chicken filling. Add the 1/2 cup of Ranch dressing and the 1/2 cup of Frank’s buffalo sauce to the bowl with the chicken. Gently but thoroughly mix everything together, ensuring that every piece of chicken is coated evenly with the creamy, tangy, and spicy sauce. You want a consistency that’s moist but not overly saucy. This mixture is going to be the star of our sliders, so don’t skimp on the mixing! Taste a little bit of the mixture – if you prefer it spicier, feel free to add a tiny bit more buffalo sauce, but remember the cheese will mellow the heat slightly. Set this bowl aside for now.
Step 2: Prepare the Slider Buns
Now, let’s get our Kings Hawaiian Rolls ready for their delicious destiny. Carefully slice the entire package of 12 rolls in half horizontally, as if you were slicing a large loaf of bread. It’s crucial to get a clean, even cut so that the top half and bottom half of your sliders will fit together nicely. A serrated knife works wonders for this task, providing a clean cut without squishing the soft Hawaiian rolls. Place the bottom halves of the rolls, cut-side up, into a 9×13 inch baking dish. These will be the sturdy base for our buffalo chicken goodness. Don’t discard the top halves; they’ll be going back on top to create perfectly contained sliders.
Step 3: Assemble the Sliders
This is where it all comes together. Evenly distribute the prepared buffalo chicken mixture from Step 1 over the bottom halves of the Hawaiian rolls in the baking dish. Make sure to spread it out as much as possible, getting a good amount of chicken onto each roll. Now, it’s time for the cheese! Sprinkle the 1 cup of shredded cheddar cheese and the 1 cup of shredded mozzarella cheese evenly over the buffalo chicken layer. The combination of cheddar and mozzarella provides a wonderful balance of sharp, nutty flavor from the cheddar and a gooey, melty stretch from the mozzarella. Once the cheese is distributed, carefully place the top halves of the Kings Hawaiian Rolls over the cheese and chicken. Gently press down on the top buns to help them settle and slightly compress the fillings.
Step 4: Create the Flavorful Topping and Bake
For an extra layer of flavor and to achieve that perfect golden-brown finish, we’ll prepare a simple yet effective butter topping. In a small microwave-safe bowl, combine the 1/4 cup of melted butter with the 1/2 teaspoon of garlic powder. Stir this mixture well to ensure the garlic powder is fully incorporated into the butter. Now, using a pastry brush or a spoon, generously drizzle or brush this garlic butter mixture all over the top of the assembled sliders. Make sure to cover the entire surface of the buns. This topping not only adds a delicious garlic aroma and taste but also helps the buns become wonderfully toasted and slightly crisp during baking.
Step 5: Bake and Serve Your Buffalo Chicken Sliders
Preheat your oven to 350 degrees Fahrenheit (175 degrees Celsius). Once the oven is preheated, place the baking dish with the assembled sliders inside. Bake for approximately 20 to 25 minutes, or until the cheese is melted and bubbly, and the tops of the rolls are golden brown and toasted. You’ll know they’re ready when you see that glorious cheese pull and smell the irresistible aroma of buffalo chicken and garlic butter. Once baked to perfection, carefully remove the baking dish from the oven. Let the sliders rest for about 5 minutes before slicing them apart with a knife, separating them into individual portions. This resting period allows the fillings to set slightly, making them easier to handle and eat. Serve these mouthwatering Buffalo Chicken Sliders warm and enjoy the explosion of flavor!
Conclusion:
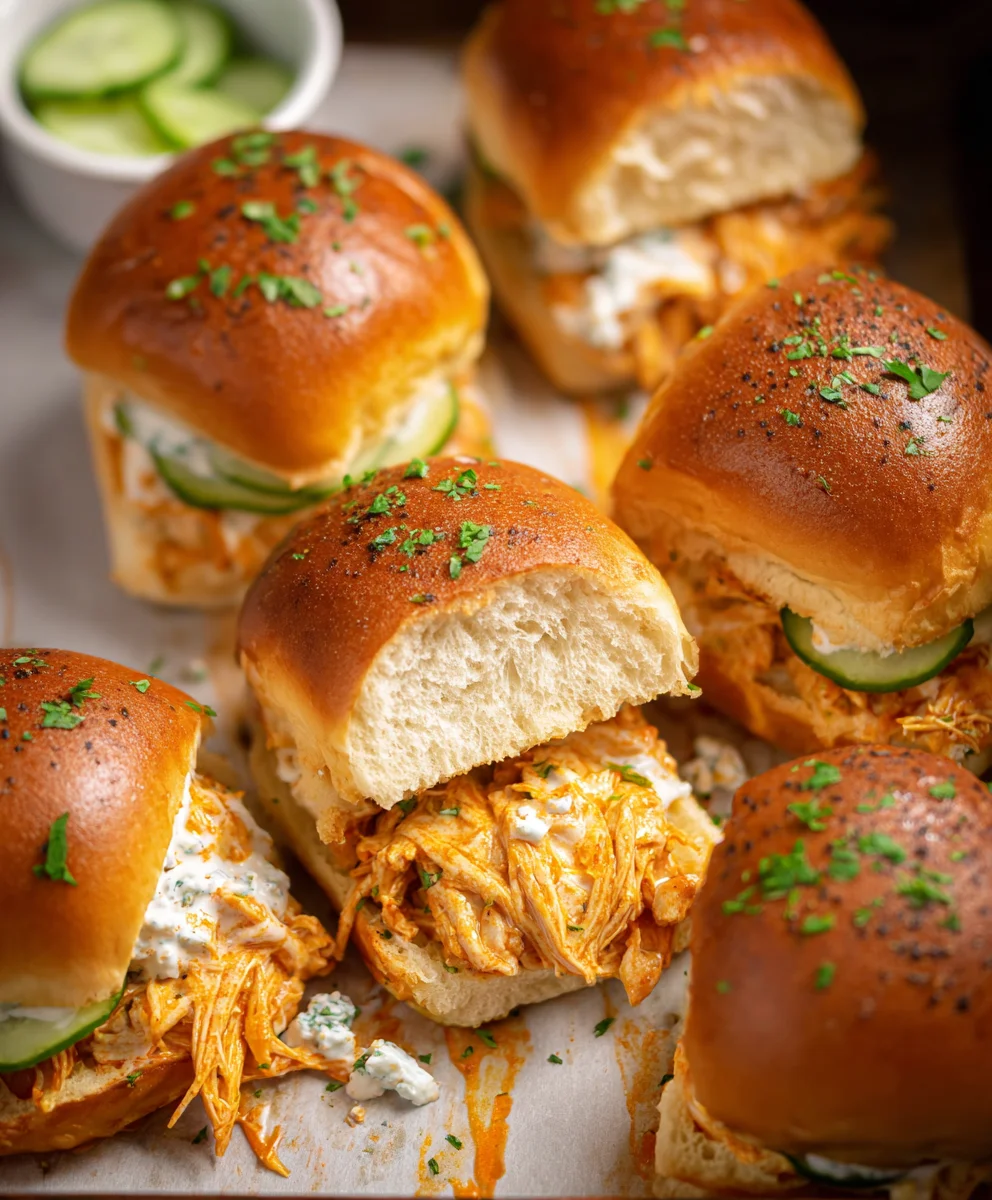
And there you have it! Your very own batch of delicious Buffalo Chicken Sliders, ready to be devoured. We hope you enjoyed this simple yet incredibly satisfying recipe. These sliders are a guaranteed crowd-pleaser, perfect for game days, casual get-togethers, or even a fun weeknight meal. The zesty buffalo sauce combined with tender chicken and soft slider buns creates a flavor explosion that’s hard to resist. Don’t be afraid to experiment and make these Buffalo Chicken Sliders your own!
For serving suggestions, these sliders are fantastic on their own, but they also pair wonderfully with classic sides like coleslaw, potato salad, or a crisp green salad. For variations, feel free to add your favorite toppings such as crum extractbled blue cheese, sliced jalapeños for an extra kick, or even a drizzle of ranch dressing. We encourage you to get creative and enjoy the process. Happy cooking!
Frequently Asked Questions:
Can I make the buffalo chicken filling ahead of time?
Absolutely! You can prepare the buffalo chicken mixture up to 2 days in advance and store it in an airtight container in the refrigerator. Gently reheat it on the stovetop or in the microwave before assembling your Buffalo Chicken Sliders.
What kind of chicken is best for these sliders?
We recommend using shredded cooked chicken breast or thighs. Rotisserie chicken is a fantastic shortcut for this recipe, saving you time and effort while still delivering great flavor. You can also cook chicken breasts or thighs from scratch and shred them.
Spicy Buffalo Chicken Sliders
Easy and delicious buffalo chicken sliders made with rotisserie chicken and Hawaiian rolls, perfect for any appetizer spread.
Ingredients
-
3 cups rotisserie chicken, shredded
-
1 package Kings Hawaiian Rolls (12 count)
-
1/2 cup Ranch dressing
-
1/2 cup Frank’s buffalo sauce
-
1/4 cup butter, melted
-
1/2 teaspoon garlic powder
-
1 cup cheddar cheese, shredded
-
1 cup mozzarella cheese, shredded
Instructions
-
Step 1
In a medium bowl, combine shredded rotisserie chicken with Ranch dressing and Frank’s buffalo sauce. Mix thoroughly until chicken is evenly coated. Set aside. -
Step 2
Slice the package of Hawaiian rolls in half horizontally. Place the bottom halves, cut-side up, into a 9×13 inch baking dish. -
Step 3
Evenly distribute the buffalo chicken mixture over the bottom halves of the rolls. Sprinkle shredded cheddar and mozzarella cheese over the chicken layer. -
Step 4
Carefully place the top halves of the Hawaiian Rolls over the cheese and chicken. Gently press down. -
Step 5
In a small bowl, combine melted butter and garlic powder. Brush this mixture over the top of the assembled sliders. -
Step 6
Preheat oven to 350°F (175°C). Bake for 20-25 minutes, or until cheese is melted and bubbly, and the tops are golden brown. Let rest for 5 minutes before slicing and serving.
Important Information
Nutrition Facts (Per Serving)
It is important to consider this information as approximate and not to use it as definitive health advice.
Allergy Information
Please check ingredients for potential allergens and consult a health professional if in doubt.