Spicy Homemade Chili Garlic Sauce Recipe-Easy & Flavorful
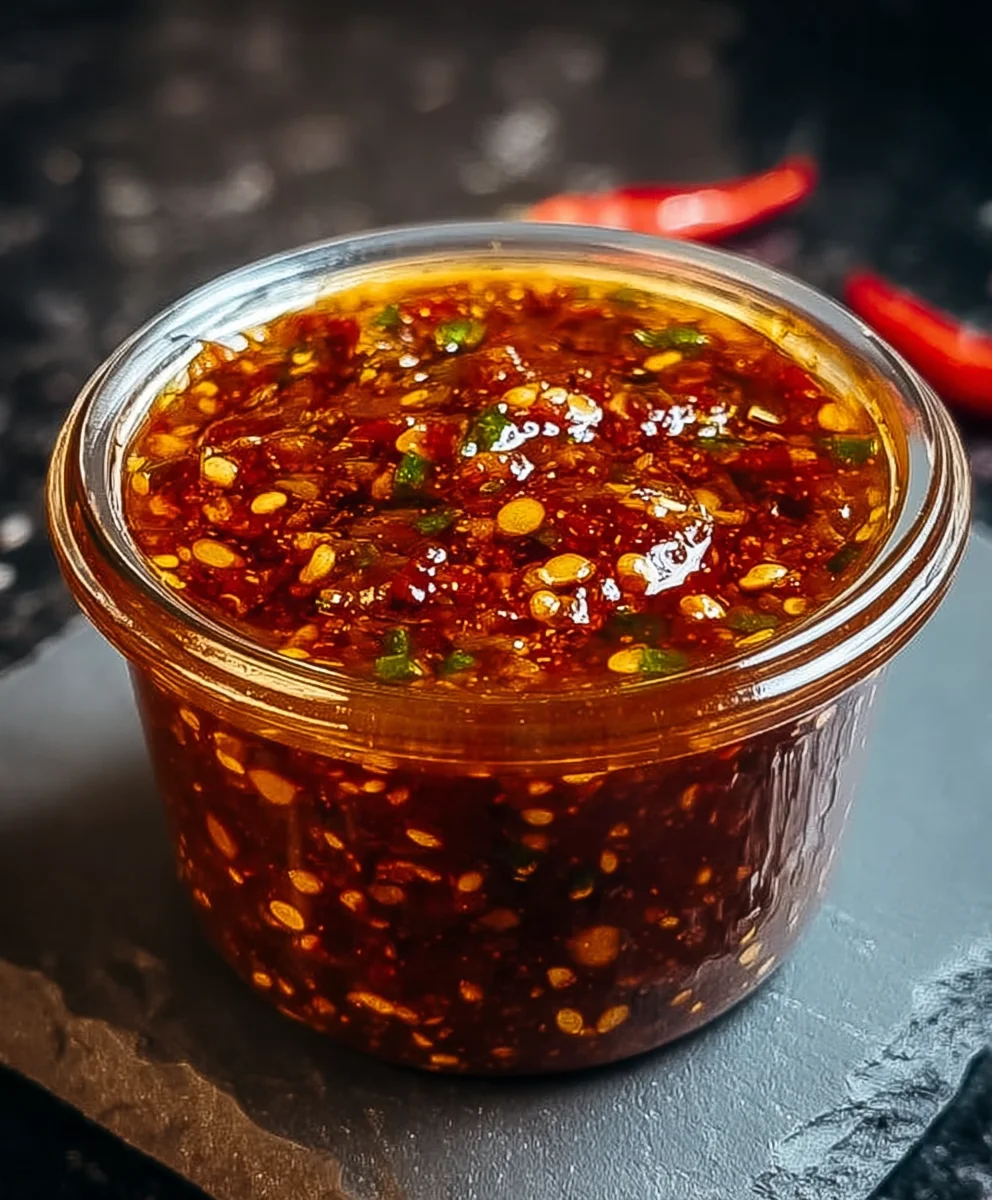
Homemade Chili Garlic Sauce is more than just a condiment; it’s a flavor revelation waiting to transform your everyday meals. Have you ever craved that perfect balance of spicy kick, aromatic garlic, and a hint of tangy sweetness that elevates everything from stir-fries to dumplings, or even just a simple egg? This is precisely what makes a truly exceptional Homemade Chili Garlic Sauce so beloved. It’s not just about heat; it’s about a complex, layered taste that bursts with freshness and a satisfying warmth. What sets my recipe apart is its simplicity coupled with its incredible depth of flavor. You won’t find a store-bought sauce that can even come close to the vibrant, addictive taste you’ll achieve by making it yourself. Get ready to unlock a new level of deliciousness in your kitchen!
Ingredients:
- 5-6 fresh red chilies
- 4 cloves garlic, minced
- 1 tablespoon white or rice vinegar
- 1 tablespoon olive oil or vegetable oil
- 1/2 teaspoon salt
- 1/2 teaspoon sugar (optional)
Preparing Your Chilies and Garlic
The foundation of our homemade chili garlic sauce lies in the quality of our chilies and garlic. For the chilies, aim for vibrant, firm red chilies. The type of red chili you use will greatly influence the heat level of your sauce. If you prefer a milder sauce, opt for chilies like Fresno or even some milder varieties of bell peppers if you’re looking for just a hint of heat and color. For a spicier kick, consider Thai bird’s eye chilies or even habaneros if you’re feeling adventurous! Remember to wear gloves when handling hot chilies, especially if you have sensitive skin, to avoid any irritation. Once you’ve selected your chilies, wash them thoroughly under cool running water. For this recipe, we’ll be removing the stems. You can choose to leave the seeds in for extra heat, or remove them if you want a more moderate spice level. Finely chop the chilies once the stems are removed. The finer you chop them, the smoother your sauce will be.
Next, we prepare the garlic. For this recipe, we need 4 cloves of garlic, minced. Mincing means chopping the garlic into very tiny pieces. A garlic press can also be used for this step if you prefer, but hand-mincing often gives a more rustic texture that works wonderfully in homemade sauces. The aroma of fresh garlic is unmistakable, and it’s about to become a key player in our delicious condiment.
Creating the Flavor Base
Now it’s time to bring our ingredients together and start building the flavor of our homemade chili garlic sauce. We’ll begin extract by heating our oil in a small saucepan or skillet over medium-low heat. Using a good quality olive oil will impart a richer flavor, but a neutral vegetable oil like canola or sunflower oil will also work well and let the chili and garlic flavors shine through. You want the oil to be warm, but not smoking. This gentle heat is crucial for coaxing out the aromas and flavors of the garlic without burning it.
Add the minced garlic to the warm oil. Stir the garlic constantly with a wooden spoon or spatula. We are looking for the garlic to become fragrant and just slightly golden. This process typically takes about 1-2 minutes. Be very careful here; burnt garlic can quickly turn bitter and ruin the entire batch of sauce. The goal is a gentle sizzle and a wonderfully aromatic transformation.
Once the garlic is fragrant and lightly golden, it’s time to add the chopped red chilies. Continue to stir the chilies and garlic together in the warm oil for another 2-3 minutes. This step allows the chilies to soften slightly and release their oils into the sauce, deepening their flavor and color. You’ll notice the mixture becoming more vibrant. Keep the heat on medium-low to prevent anything from scorching. This stage is where the characteristic flavor of chili garlic sauce gin extractly begins to develop.
Simmering and Seasoning
With our chili and garlic base well established, we move on to the simmering and seasoning phase. Pour in the tablespoon of vinegar. Whether you use white vinegar or rice vinegar, it will agin extracta crucial tanginess that balances the heat of the chilies and the richness of the oil. As soon as the vinegar hits the pan, you’ll likely hear a sizzle – this is perfectly normal. Stir everything together to combine.
Now, let’s add our salt. The 1/2 teaspoon of salt is essential for enhancing all the other flavors in the sauce. If you’re planning on using this sauce as a long-term condiment, you might consider slightly increasing the salt content, as it also acts as a natural preservative. Stir the salt in until it’s fully incorporated.
For those who like a touch of sweetness to round out the flavors, this is the time to add the optional 1/2 teaspoon of sugar. Sugar helps to mellow the sharpness of the chilies and vinegar, creating a more complex and pleasing taste profile. Stir it in until dissolved.
Reduce the heat to low, cover the saucepan with a lid, and let the mixture simmer gently for about 10-15 minutes. This simmering period is vital. It allows the flavors to meld together beautifully, the chilies to soften further, and the sauce to thicken slightly. Stir occasionally to ensure even cooking and to prevent sticking. You’ll notice the aroma filling your kitchen – a delightful mix of spicy, savory, and slightly tangy notes.
Achieving the Perfect Consistency
After simmering, we want to achieve the desired consistency for our homemade chili garlic sauce. Remove the lid from the saucepan. If the sauce seems too thin for your liking, you can continue to simmer it uncovered for another 5-10 minutes, stirring frequently, allowing some of the excess moisture to evaporate. Conversely, if you prefer a smoother sauce, you can use an immersion blender to carefully blend the mixture directly in the pan. Alternatively, you can transfer the mixture to a food processor or blender and process it until it reaches your desired texture. For a very smooth sauce, you might consider straining it through a fine-mesh sieve after blending, pressing down on the solids to extract as much liquid as possible, although this will reduce the yield.
Taste your sauce and adjust the seasonings if necessary. You might find you want a touch more salt, a little more vinegar for brightness, or even a tiny pinch more sugar. Remember that the flavors will continue to develop as the sauce cools.
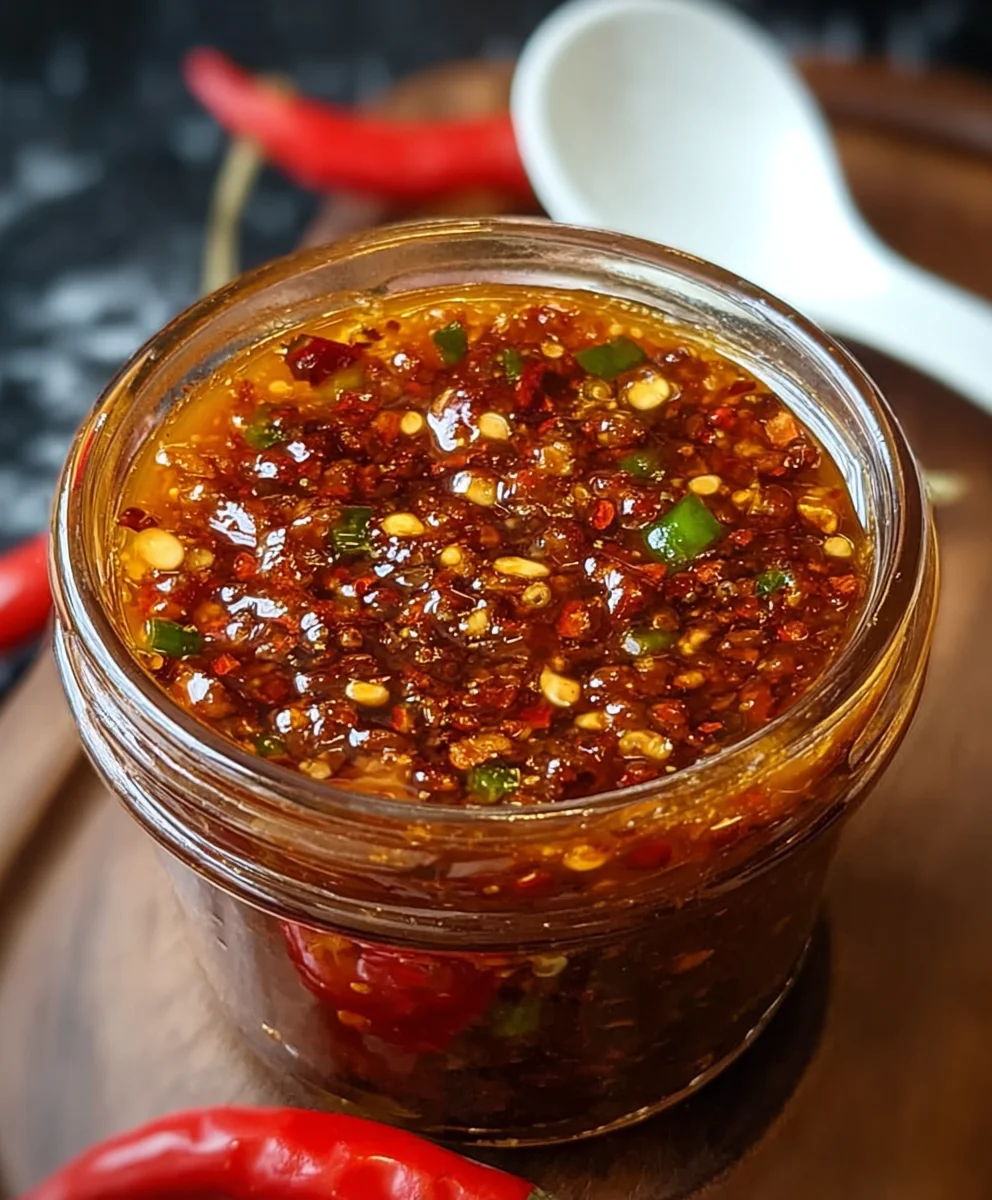
Once you’re happy with the consistency and flavor, carefully spoon the finished homemade chili garlic sauce into a clean, sterilized glass jar or airtight container. Allow it to cool completely at room temperature before sealing it tightly and storing it in the refrigerator. This homemade gem is incredibly versatile and will elevate a multitude of dishes!
Conclusion:
I hope you’ve enjoyed learning how to create your very own batch of Homemade Chili Garlic Sauce! This recipe is incredibly rewarding, delivering a flavor explosion that far surpasses anything you’ll find on a store shelf. The balance of heat from the chilies, the pungent kick of garlic, and the subtle sweetness is truly addictive. It’s more than just a condiment; it’s a versatile ingredient that can elevate a multitude of dishes. Don’t be afraid to experiment and make it your own!
Serving suggestions are practically endless! Drizzle this glorious Homemade Chili Garlic Sauce over stir-fries, noodles, dumplings, eggs, grilled meats, or even use it as a dip for spring rolls. You can also mix a spoonful into marinades or salad dressings for an extra layer of complexity.
For variations, consider adding a touch of honey or maple syrup for a sweeter profile, a splash of rice vinegar for extra tang, or a pinch of toasted sesame oil for a nutty aroma. Feel free to adjust the chili types and quantities to achieve your perfect level of heat and flavor. I encourage you to get creative in the kitchen and enjoy the process of making this fantastic Homemade Chili Garlic Sauce!
Frequently Asked Questions about Homemade Chili Garlic Sauce:
Q1: How long will this Homemade Chili Garlic Sauce last in the refrigerator?
When stored in a clean, airtight container in the refrigerator, this Homemade Chili Garlic Sauce can last for up to 2-3 weeks. Ensuring all ingredients are fresh and properly senon-alcoholic aled will help maintain its quality and flavor.
Q2: Can I use dried chilies instead of fresh for this Homemade Chili Garlic Sauce?
Yes, you absolutely can! If using dried chilies, rehydrate them in hot water for about 15-20 minutes until softened, then drain them well before proceeding with the recipe. You might need to adjust the amount based on their heat level.
Q3: My Homemade Chili Garlic Sauce is too thick. What can I do?
If your Homemade Chili Garlic Sauce is too thick, you can thin it out by adding a tablespoon of neutral oil (like vegetable or canola oil) or a little bit of warm water or broth at a time, blending until you reach your desired consistency.
Spicy Homemade Chili Garlic Sauce
An easy and flavorful recipe for homemade chili garlic sauce, perfect for adding a kick to any dish.
Ingredients
-
5-6 fresh red chilies
-
4 cloves garlic, minced
-
1 tablespoon white vinegar
-
1 tablespoon olive oil
-
1/2 teaspoon salt
-
1/2 teaspoon sugar (optional)
Instructions
-
Step 1
Prepare your chilies by washing, removing stems, and finely chopping. For milder heat, remove seeds. Mince the garlic. -
Step 2
Heat olive oil in a saucepan over medium-low heat. Add minced garlic and stir constantly for 1-2 minutes until fragrant and slightly golden, being careful not to burn. -
Step 3
Add the chopped red chilies to the pan and stir with the garlic for another 2-3 minutes until softened and releasing their oils. -
Step 4
Pour in the vinegar, add salt, and optional sugar. Stir to combine. -
Step 5
Reduce heat to low, cover, and simmer for 10-15 minutes, stirring occasionally. Simmer uncovered for an additional 5-10 minutes if a thicker sauce is desired. Blend with an immersion blender or food processor for a smoother consistency if preferred. -
Step 6
Taste and adjust seasonings as needed. Allow to cool completely before transferring to a clean, sterilized glass jar or airtight container. Store in the refrigerator.
Important Information
Nutrition Facts (Per Serving)
It is important to consider this information as approximate and not to use it as definitive health advice.
Allergy Information
Please check ingredients for potential allergens and consult a health professional if in doubt.