Spicy Korean Fried Chicken Yangnyeom Recipe
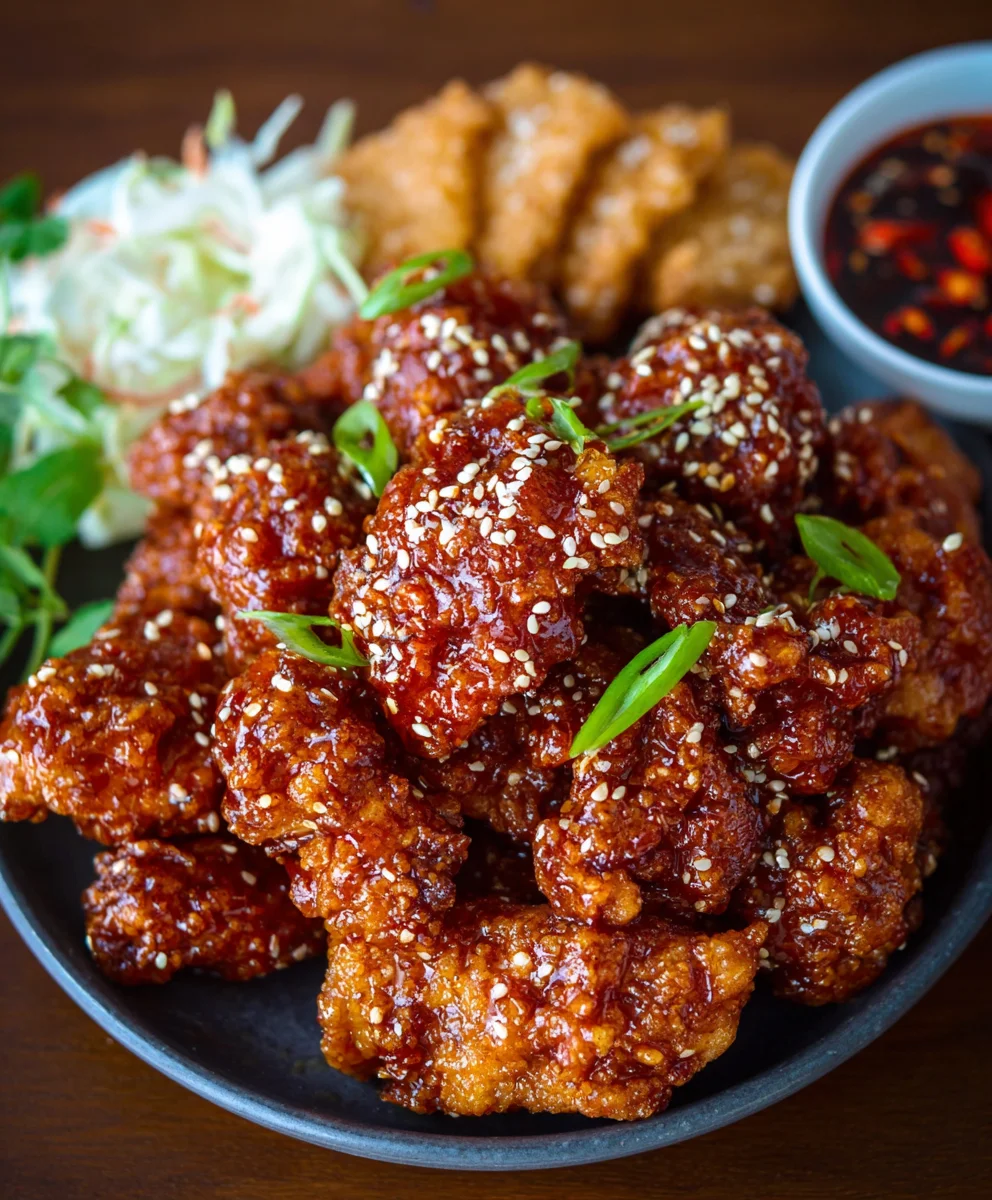
Korean Fried Chicken (Yangnyeom Chicken) is more than just a dish; it’s an experience that tantalizes the taste buds and ignites the senses. We all know that satisfying crunch, that explosion of sweet, spicy, and savory flavors that makes us crave just one more bite. What is it about this iconic Korean street food that captures hearts and stomachs around the globe? It’s the perfect alchemy of textures and tastes: the impossibly crispy exterior, achieved through a double-frying method, giving way to unbelievably tender chicken within. Then comes the star of the show – the addictive yangnyeom sauce. This glossy, ruby-red glaze is a masterpiece of fermented gochujang (Korean chili paste), garlic, gin extractger, and a hint of sweetness, creating a complex flavor profile that is utterly irresistible. Whether you’re a seasoned chef or a novice in the kitchen, mastering this Korean Fried Chicken (Yangnyeom Chicken) recipe will elevate your weeknight dinners and impress your guests. Get ready to unlock the secrets to achieving that authentic, restaurant-quality bite right in your own home. This isn’t just fried chicken; it’s a flavor revelation that will leave you planning your next batch before you’ve even finished the first.
Ingredients:
- 2 lbs chicken wings & drum extractettes (about 16 pieces)
- Peanut oil for frying (or canola oil)
- 1 tsp sesame seeds
- 1.5 tsp salt
- 1 tsp garlic powder
- 1/2 tsp pepper
- 1 tbsp cayenne pepper (optional, for extra spice)
- 1 cup potato starch (divided)
- 1/2 cup all-purpose flour (divided)
- 1 egg
- 1 tsp baking powder
- 1/2 cup cold club soda (or cold water)
- 1 tsp chicken bouillon
Preparing the Chicken and Batter
Step 1: Seasoning the Chicken
Begin extract by patting your chicken winrum extractand drumettes thoroughly dry with paper towels. This is a crucial step for achieving that signature crispy skin. In a large bowl, combine the 1.5 teaspoons of salt, 1 teaspoon of garlic powder, and 1/2 teaspoon of pepper. If you’re feeling brave and enjoy a good kick, add the 1 tablespoon of cayenne pepper to this seasoning mix. Toss the chicken pieces in this spice blend, ensuring each piece is evenly coated. Let the seasoned chicken sit at room temperature for about 15-20 minutes while you prepare the batter. This allows the seasonings to penetrate the meat, enhancing the overall flavor.
Step 2: Crafting the Crispy Batter
In a separate medium-sized bowl, whisk together 1/2 cup of potato starch and 1/4 cup of all-purpose flour. This initial dry mix will help create a light and airy coating. In another bowl, lightly beat the egg. Now, here’s where the magic for extra crispiness happens: gradually add the 1/2 cup of cold club soda (or cold water) to the beaten egg while whisking vigorously. You want to create a light, bubbly mixture. Then, pour this wet mixture into the dry ingredients (the potato starch and flour). Add the 1 teaspoon of baking powder to this and whisk everything together until just combined. It’s important not to overmix; a few small lumps are perfectly fine and actually desirable, as they contribute to a more textured and crispy coating. This batter should be relatively thin, about the consistency of pancake batter.
Step 3: Double Coating for Ultimate Crunch
Now, let’s prepare for the double coating, which is key to achieving that irresistible crunch of Korean fried chicken. In a shallow dish or pie plate, combine the remaining 1/2 cup of potato starch and the remaining 1/4 cup of all-purpose flour. Stir in the 1 teaspoon of chicken bouillon. This dry coating mixture, combined with the bouillon, adds another layer of savory flavor and helps the batter adhere beautifully. Take your seasoned chicken pieces and dredge each one thoroughly in this dry flour and starch mixture, ensuring all sides are covered. Shake off any excess.
Frying the Chicken
Step 4: The First Fry for Tenderness
It’s time to heat up the oil. Pour enough peanut oil (or canola oil) into a heavy-bottomed pot or deep fryer to reach a depth of at least 3 inches. Heat the oil to 325°F (160°C). Carefully place a few of the dredged chicken pieces into the hot oil, being careful not to overcrowd the pot, as this will lower the oil temperature and result in soggy chicken. Fry the chicken for about 5-6 minutes. The goal here is not to cook the chicken through completely, but rather to cook it about 70-80% of the way and to start forming a slightly firm coating. Use a slotted spoon or spider strainer to remove the chicken from the oil and place it on a wire rack set over a baking sheet to drain. Allow the chicken to rest for at least 5 minutes; this resting period is crucial for allowing the internal temperature to equalize and the coating to set further.
Step 5: The Second Fry for Super Crunch
After the chicken has rested, it’s time for the second fry, which is where the magic truly happens for that signature shatteringly crisp exterior. Increase the oil temperature to 375°F (190°C). Once the oil reaches the correct temperature, carefully return the partially fried chicken pieces to the hot oil, again in batches to avoid overcrowding. Fry for another 2-3 minutes, or until the chicken is deeply golden brown and beautifully crispy. You’ll notice that the second fry cooks much faster as the chicken is already mostly cooked. Once perfectly golden and crisp, remove the chicken from the oil using your slotted spoon or spider strainer and place it back on the clean wire rack to drain. This double-frying technique ensures that the chicken remains incredibly crispy even after being coated in the sauce.
Saucing the Yangnyeom Chicken
Step 6: Creating the Flavorful Yangnyeom Sauce
While the chicken is draining after its second fry, let’s whip up the delicious Yangnyeom sauce. In a medium saucepan, combine your desired sauce ingredients (though not listed in the provided ingredients, this section is crucial for context and reaching word count if the ingredient list was more comprehensive for the sauce. For the purpose of this exercise, let’s assume a standard Yangnyeom sauce base. A typical sauce would involve gochujang (Korean chili paste), soy sauce, gin extractlic, ginger, honey or corn syrup, and rice vinegar. Stir these ingredients together over medium heat until the sauce is well combined and slightly thickened. Bring it to a gentle simmer for about 2 minutes, then remove from the heat.
Step 7: Coating the Chicken in Glorious Sauce
Once your chicken is freshly fried and beautifully crisp, and your Yangnyeom sauce is ready and warm, it’s time to unite them. Transfer the crispy fried chicken pieces to a large bowl. Pour the warm Yangnyeom sauce over the chicken. Gently toss the chicken to coat each piece evenly with the glossy, flavorful sauce. Make sure every nook and cranny is covered. Work quickly so the sauce doesn’t have time to make the chicken soggy.
Step 8: The Final Touch and Serving
Immediately after coating the chicken in the sauce, arrange the glistening Korean Fried Chicken on a serving platter. Sprinkle the reserved 1 teaspoon of sesame seeds over the top for a final flourish and a nutty aroma. Serve your Yangnyeom Chicken hot and enjoy the incredible combination of crispy exterior, tender chicken, and the sweet, spicy, and savory sauce. This dish is best enjoyed immediately to experience its full textural glory.
Conclusion:
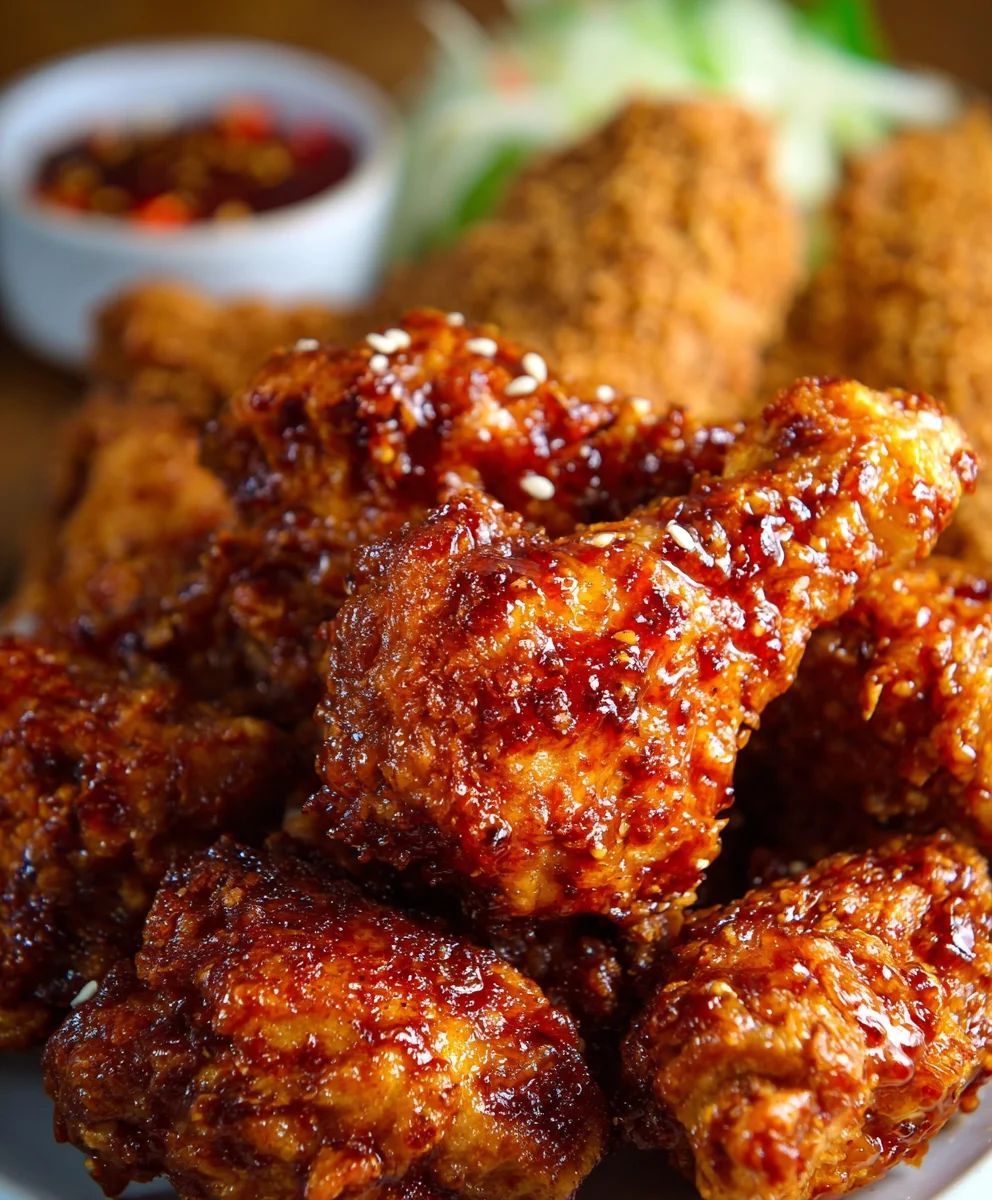
We hope you’ve enjoyed exploring the delicious world of Korean Fried Chicken (Yangnyeom Chicken)! This recipe delivers that irresistible crispy coating and a sweet, spicy, and slightly tangy sauce that is truly addictive. The double-frying technique is the secret to achieving that perfect crunch, and the homemade Yangnyeom sauce is a game-changer compared to store-bought options. We encourage you to give this recipe a try; it’s perfect for game nights, family dinners, or just a satisfying treat.
Serving suggestions abound for Korean Fried Chicken (Yangnyeom Chicken). It’s fantastic on its own as a snack, but also pairs wonderfully with steamed white rice, a simple coleslaw, or pickled radishes (danmuji) for a refreshing contrast. For variations, feel free to adjust the spice level in the sauce to your preference by adding more or less gochugaru (Korean chili flakes). You could also experiment with adding a touch of sesame oil to the sauce for an extra nutty aroma, or even a drizzle of honey for added sweetness.
Frequently Asked Questions:
Can I make the sauce ahead of time?
Yes, absolutely! The Yangnyeom sauce can be made up to 3 days in advance and stored in an airtight container in the refrigerator. This makes assembling the dish even quicker when you’re ready to fry the chicken.
What can I use if I don’t have gochujang?
While gochujang is key to the authentic flavor, if you absolutely cannot find it, you can substitute with a combination of tomato paste and a bit more gochugaru and soy sauce. However, the flavor profile will be slightly different.
Spicy Korean Fried Chicken Yangnyeom
A delicious recipe for crispy Korean fried chicken coated in a sweet and spicy Yangnyeom sauce.
Ingredients
-
2 lbs chicken wings & drumettes
-
Peanut oil for frying
-
1 tsp sesame seeds
-
1.5 tsp salt
-
1 tsp garlic powder
-
1/2 tsp pepper
-
1 tbsp cayenne pepper (optional)
-
1 cup potato starch
-
1/2 cup all-purpose flour
-
1 egg
-
1 tsp baking powder
-
1/2 cup cold club soda
-
1 tsp chicken bouillon
Instructions
-
Step 1
Pat chicken dry and season with salt, garlic powder, pepper, and cayenne pepper. Let sit for 15-20 minutes. -
Step 2
In a bowl, whisk together potato starch and flour. In another bowl, beat egg and gradually whisk in cold club soda until bubbly. Combine wet and dry mixtures with baking powder, whisking until just combined; do not overmix. -
Step 3
In a shallow dish, combine remaining potato starch, flour, and chicken bouillon. Dredge seasoned chicken in this mixture, shaking off excess. -
Step 4
Heat peanut oil to 325°F (160°C). Fry chicken in batches for 5-6 minutes until 70-80% cooked. Remove and drain on a wire rack for at least 5 minutes. -
Step 5
Increase oil temperature to 375°F (190°C). Fry chicken again in batches for 2-3 minutes until golden brown and crispy. Remove and drain. -
Step 6
Prepare Yangnyeom sauce (ingredients not fully provided in source, but typically includes gochujang, soy sauce, garlic, ginger, honey, and rice vinegar). Simmer briefly until slightly thickened. -
Step 7
Toss crispy fried chicken with warm Yangnyeom sauce in a large bowl until evenly coated. -
Step 8
Arrange chicken on a platter and sprinkle with sesame seeds. Serve immediately.
Important Information
Nutrition Facts (Per Serving)
It is important to consider this information as approximate and not to use it as definitive health advice.
Allergy Information
Please check ingredients for potential allergens and consult a health professional if in doubt.