Piped Rainbow Shortbread Cookies- Easy Festive Treat
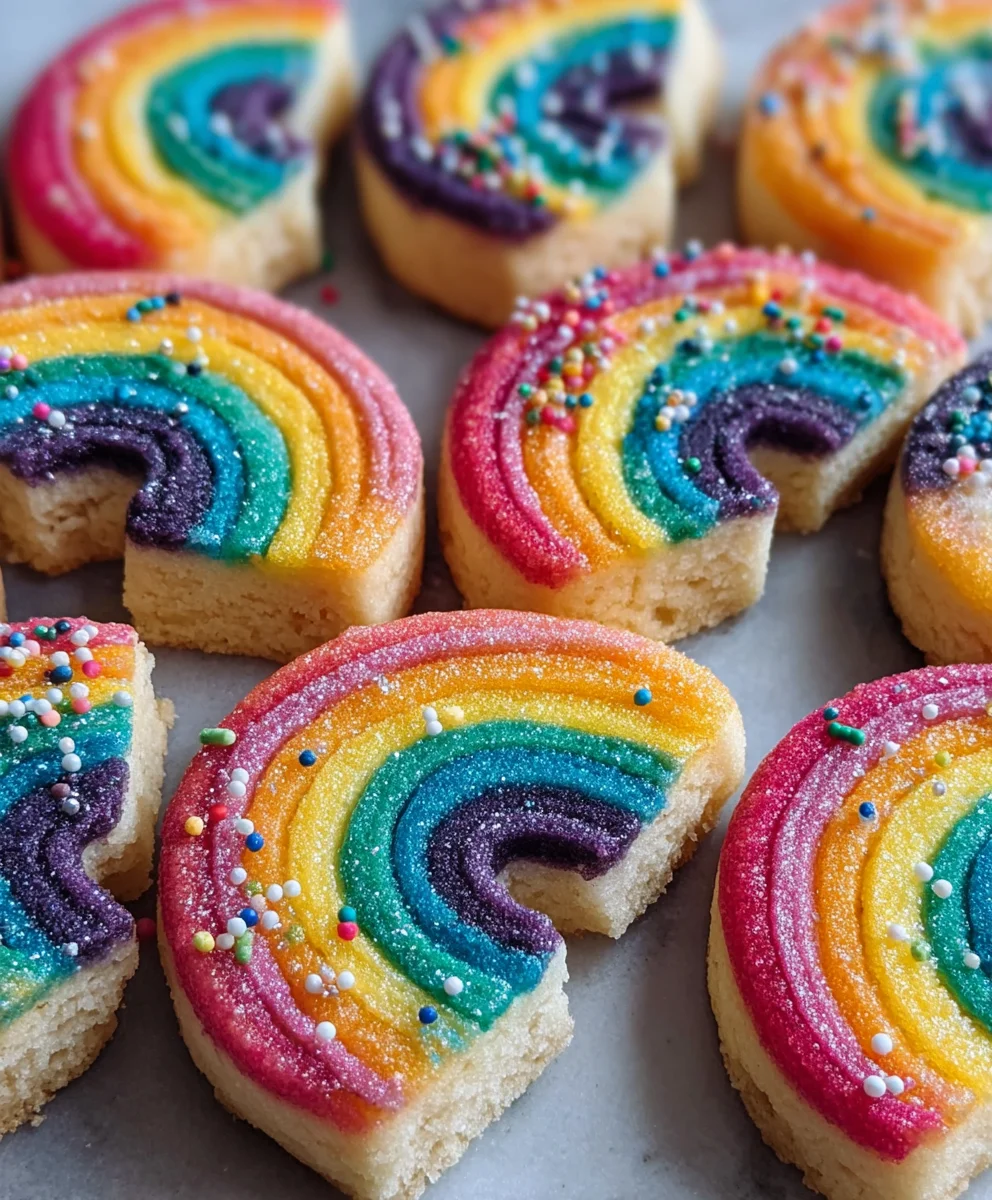
Piped Rainbow Shortbread Cookies are not just a treat; they are edible works of art that bring pure joy to any occasion. Imagin extracte a delightful dance of vibrant colors encased in a buttery, melt-in-your-mouth shortbread. It’s no wonder these cookies have captured the hearts (and taste buds!) of so many. The magic lies in their delightful simplicity coupled with their show-stopping visual appeal. Beyond their stunning appearance, people adore them for that classic, comforting shortbread flavor, perfectly crum extractbly yet rich. What truly makes Piped Rainbow Shortbread Cookies special is the personal touch you add with each swirl and flourish of the piping bag. They are more than just cookies; they are a celebration waiting to happen, perfect for birthdays, baby showers, or simply to brighten a dreary afternoon. Get ready to unleash your inner artist and bake up a batch of pure happiness!
Ingredients:
- 2¼ cups all-purpose flour
- ¾ cup granulated sugar
- ¼ teaspoon salt
- 1 cup (2 sticks) unsalted butter, softened and cut into ½-inch pieces
- Gel food coloring (choose 4 vibrant colors for your rainbow effect)
- 1 cup white melting wafers (for coating)
- Rainbow nonpareils (for decorating)
Preparing the Shortbread Dough
Mixing the Dry Ingredients
The foundation of any good shortbread is a simple, well-balanced dough, and ours is no exception. In a large mixing bowl, whisk together the all-purpose flour, granulated sugar, and salt. This ensures that the leavening agent (salt, in this case, helps to enhance flavor and texture) is evenly distributed throughout the flour, leading to consistent cookies every time. Take a moment to make sure there are no clumps of sugar or salt.
Creaming the Butter and Sugar
Next, it’s time to bring in the star of the show: the butter. Ensure your unsalted butter is softened but not melted; it should be pliable and easy to indent with your finger. Add the softened butter pieces to the dry ingredients. Using an electric mixer on medium speed, cream the butter and sugar mixture until it becomes light and fluffy. This process incorporates air into the dough, which is crucial for achieving a tender texture in the final cookie. Scrape down the sides of the bowl periodically to make sure all the butter is incorporated. This should take about 3-5 minutes.
Forming the Dough and Dividing for Color
Once the butter and sugar are well combined, gradually add the flour mixture back into the bowl. Mix on low speed until just combined and the dough starts to come together. Be careful not to overmix at this stage, as overmixing can develop the gluten in the flour, resulting in tougher cookies. The dough will be crum extractbly but should hold together when squeezed.
Now, for the fun part: creating our rainbow! Divide the dough into four equal portions. Place each portion into a separate small bowl. This is where you’ll add your chosen gel food colors. Add a few drops of one gel food coloring to the first bowl, a different color to the second, and so on, until all four bowls have a distinct hue. Gel food coloring is preferred because it’s concentrated and won’t add extra liquid to the dough, which could alter the texture.
Kneading in the Color
Gently knead the food coloring into each portion of dough separately. Use your hands to work the color evenly throughout each ball of dough. You’re looking for a uniform color without streaks. Be patient with this step; it might take a minute or two of gentle kneading for the color to fully saturate. Once each portion is vibrantly colored, flatten each ball into a disc. Wrap each disc tightly in plastic wrap and refrigerate for at least 30 minutes. This chilling period is essential; it firms up the butter, making the dough easier to handle and preventing the colors from bleeding into each other during the next steps.
Shaping and Baking the Rainbow Shortbread
Layering and Rolling the Dough
After chilling, unwrap each colored dough disc. On a lightly floured surface, roll out each disc into a rectangle of approximately the same size and thickness (about ¼ inch thick). Aim for consistency in thickness so that your shortbread bakes evenly. Once you have your four colored rectangles, carefully stack them one on top of the other. You can decide on the order of your colors for the rainbow effect – perhaps red on the bottom, followed by orange, yellow, and green on top.
Rolling into a Log and Chilling Again
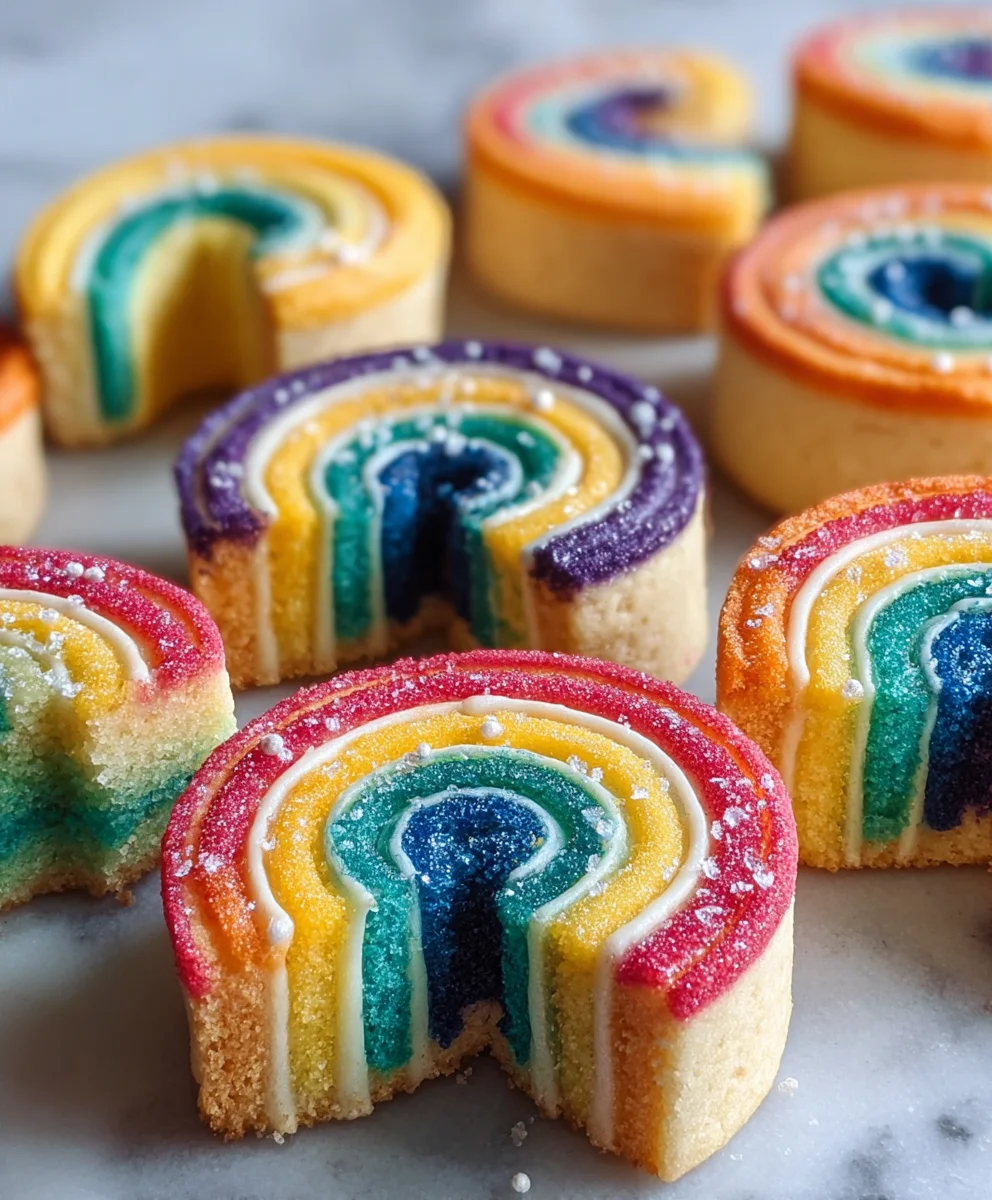
Once the colored layers are stacked, begin extract to tightly roll the stacked dough rectangles from one of the long sides, creating a jelly-roll style log. This tight rolling is important to ensure there are no air pockets between the layers and that the colors will show up as distinct stripes when sliced. Once the log is formed, wrap it tightly in plastic wrap again. Refrigerate for at least another hour, or up to 2 days, until firm. This thorough chilling is crucial for clean, defined slices and to prevent the cookie from spreading excessively during baking.
Slicing and Baking
Preheat your oven to 350°F (175°C). Line baking sheets with parchment paper. Once the dough log is firm enough to slice cleanly, unwrap it. Using a sharp knife, slice the log into rounds about ¼-inch thick. Place the sliced cookies onto the prepared baking sheets, leaving about 1-2 inches of space between them. The shortbread will spread slightly, so give them room. Bake for 12-15 minutes, or until the edges are lightly golden brown. The centers should still appear pnon-alcoholic ale. Overbaking will result in dry, hard cookies.
Finishing Touches: Melting and Decorating
Melting the White Chocolate
While the cookies are baking, prepare your white melting wafers for dipping. Place the white melting wafers in a microwave-safe bowl. Microwave on 50% power in 30-second intervals, stirring well after each interval, until the wafers are completely melted and smooth. Alternatively, you can melt them using a double boiler. Be patient; it’s better to melt them slowly and carefully to avoid scorching.
Dipping and Decorating
Once the shortbread cookies have cooled completely on a wire rack, it’s time for the final decorative touch. Dip each cooled cookie about halfway into the melted white chocolate, allowing any excess to drip back into the bowl. For an even coating, you can use a small spatula to help spread the chocolate. Immediately after dipping, sprinkle the nonpareils generously over the wet chocolate. The nonpareils will adhere to the chocolate, creating a beautiful rainbow effect that complements the colors within the cookie. Place the decorated cookies back onto the parchment-lined baking sheet or a clean sheet of parchment paper to allow the chocolate to set completely. This will take about 15-30 minutes at room temperature, or you can speed up the process by placing them in the refrigerator for about 10 minutes.
Conclusion:
We hope you’ve enjoyed learning how to create these delightful Piped Rainbow Shortbread Cookies! This recipe offers a wonderful balance of buttery richness and vibrant visual appeal, making them perfect for any celebration or just a cheerful afternoon treat. Whether you’re a seasoned baker or just starting out, the process of piping these colorful designs can be incredibly rewarding. Remember, the key to perfect shortbread is gentle handling and not overmixing the dough. Don’t be afraid to experiment with different piping tips and color combinations!
These Piped Rainbow Shortbread Cookies are fantastic on their own, but they also pair beautifully with a cup of tea or coffee. For an extra touch of elegance, consider arrangin extractg them on a dessert platter with other colorful treats. If you’re feeling adventurous, you can also try adding a hint of citrus zest to the dough or a touch of edible glitter for a bit of sparkle. Most importantly, have fun with it and enjoy the process! We encourage you to share your creations and spread the joy these cookies bring.
Frequently Asked Questions:
Q1: How do I store Piped Rainbow Shortbread Cookies?
To keep your Piped Rainbow Shortbread Cookies fresh, store them in an airtight container at room temperature for up to 5 days. Avoid stacking them too high to prevent the piped designs fgin extract smudging.
Q2: Can I make the dough ahead of time?
Yes, absolutely! The dough for Piped Rainbow Shortbread Cookies can be made a day or two in advance and kept refrigerated in an airtight container. You may need to let it sit at room temperature for a few minutes to soften slightly before piping.
Piped Rainbow Shortbread Cookies
Easy and festive shortbread cookies with vibrant rainbow layers and a sweet white chocolate coating, perfect for any celebration.
Ingredients
-
2¼ cups all-purpose flour
-
¾ cup granulated sugar
-
¼ teaspoon salt
-
1 cup (2 sticks) unsalted butter, softened and cut into ½-inch pieces
-
Gel food coloring (choose 4 vibrant colors for your rainbow effect)
-
1 cup white melting wafers
-
Rainbow nonpareils
Instructions
-
Step 1
In a large mixing bowl, whisk together the all-purpose flour, granulated sugar, and salt. Cream softened unsalted butter with the sugar mixture using an electric mixer until light and fluffy. Gradually add the flour mixture and mix on low speed until just combined, forming a crumbly dough. -
Step 2
Divide the dough into four equal portions. Add a few drops of a different gel food coloring to each portion. Gently knead the color into each portion until uniform. Flatten each colored ball into a disc, wrap tightly in plastic wrap, and refrigerate for at least 30 minutes. -
Step 3
On a lightly floured surface, roll out each colored dough disc into a rectangle of approximately the same size and thickness (about ¼ inch thick). Carefully stack the four colored rectangles one on top of the other. -
Step 4
Starting from one of the long sides, tightly roll the stacked dough rectangles into a jelly-roll style log. Wrap the log tightly in plastic wrap and refrigerate for at least another hour until firm. -
Step 5
Preheat oven to 350°F (175°C). Line baking sheets with parchment paper. Unwrap the chilled dough log and slice into rounds about ¼-inch thick. Place cookies on prepared baking sheets, leaving space between them. Bake for 12-15 minutes, or until edges are lightly golden brown. -
Step 6
While cookies bake, melt white melting wafers in a microwave-safe bowl on 50% power in 30-second intervals, stirring until smooth. Once cookies are completely cooled on a wire rack, dip each cookie about halfway into the melted white chocolate. Immediately sprinkle with rainbow nonpareils. Let the chocolate set completely.
Important Information
Nutrition Facts (Per Serving)
It is important to consider this information as approximate and not to use it as definitive health advice.
Allergy Information
Please check ingredients for potential allergens and consult a health professional if in doubt.