Cookie Monster Cake Jars-Fun No-Bake Dessert
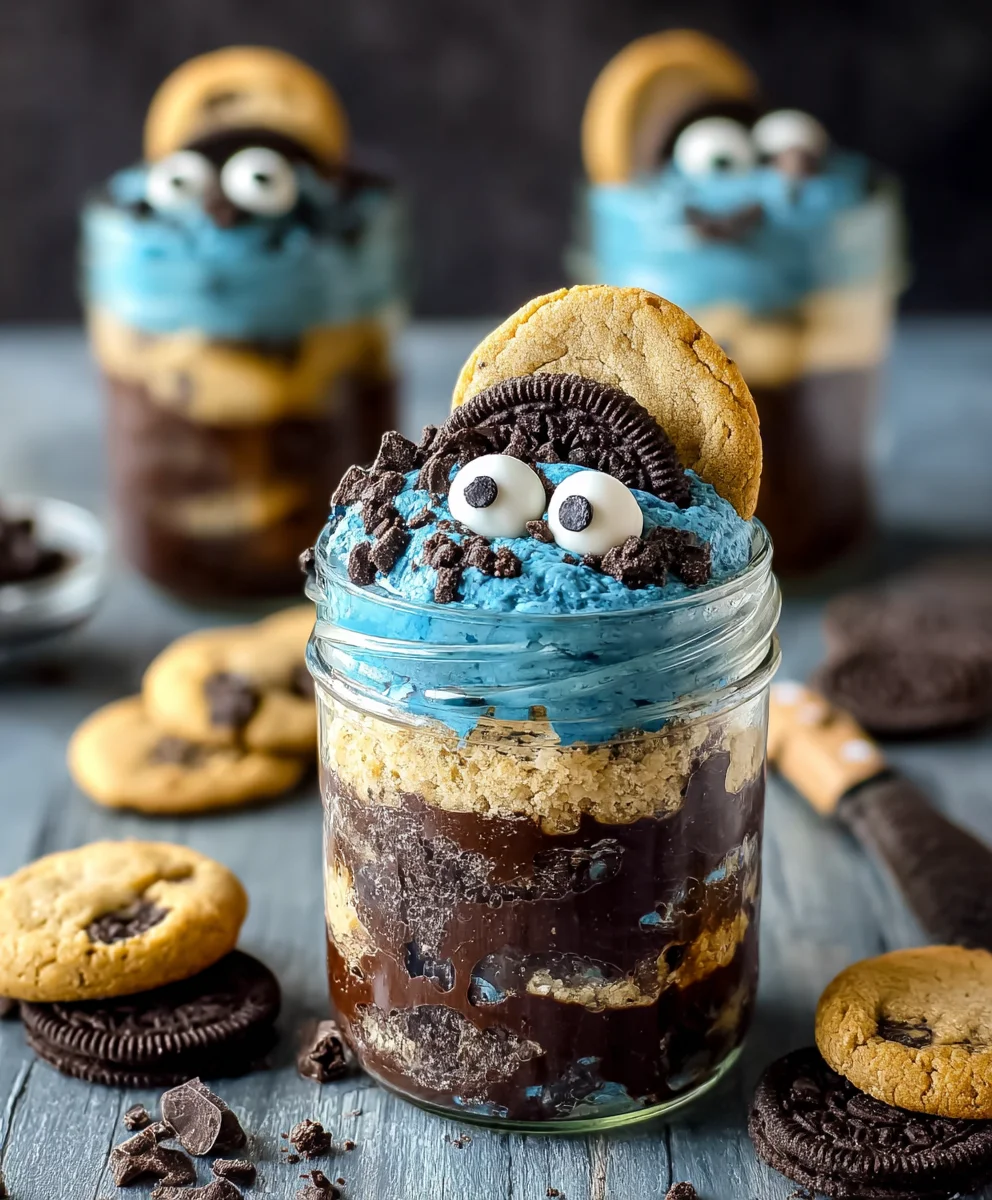
Cookie Monster Cake Jars aren’t just a dessert; they’re a portal to pure, unadulterated joy. Imagin extracte the iconic blue hue of our favorite fuzzy, cookie-loving monster, transformed into individual, portable delights. These aren’t your average cupcakes or a sprawling sheet cake. They’re miniature masterpieces, layered with fluffy cake, creamy frosting, and of course, generous chunks of chocolate chip cookies, just as Cookie Monster himself would demand. People adore these because they capture that nostalgic, whimsical spirit of childhood, all in a convenient, single-serving package. What truly makes the Cookie Monster Cake Jars special is the perfect balance of textures and flavors – the tender cake, the smooth frosting, and the satisfying crunch of the cookies. Plus, their vibrant blue color is an instant mood-booster, making them ideal for parties, playful gatherings, or simply a delightful treat to brighten your day.
Ingredients:
- 15 oz box white or vanilla cake mix
- Ingredients called for on cake mix box (typically eggs, oil, and water)
- 10 Oreos, chopped (divided)
- ½ cup (1 stick) unsalted butter, room temperature
- ½ cup vegetable shortening
- 3 cups powdered sugar
- 2-3 tablespoons milk or coffee creamer
- 1 teaspoon vanilla extract
- 1 drop electric blue Americolor gel color
- 2 drops royal blue Chef Masters gel color
- 8-10 Oreos, chopped
- 8-10 chocolate chip cookies, chopped
- 8 candy eyes
- 2 chocolate chip cookies, cut in half
- Blue ribbon (optional, for decorating jars)
Baking the Cake Layers
The foundation of our Cookie Monster Cake Jars starts with a classic white or vanilla cake. We’ll prepare this according to the instructions on the 15 oz box. This usually involves whisking together the dry cake mix with the wet ingredients – typically a few eggs, some vegetable oil, and water. Ensure your oven is preheated to the temperature specified on the cake mix box, and grease and flour your baking pans. I like to use two 8-inch round cake pans for even layers, but you could also use a 9×13 inch pan and cut out circles later. Once the batter is smooth, pour it evenly into the prepared pans. Bake until a toothpick inserted into the center comes out clean. The baking time will vary depending on your oven and pan size, so keep an eye on it. Let the cakes cool in the pans for about 10-15 minutes before inverting them onto a wire rack to cool completely. It’s crucial for the cakes to be entirely cool before you start crum extractbling them for our jars.
Creating the Cookie Monster Frosting
This is where the magic happens and our frosting gets its signature “Cookie Monster” hue! In a large mixing bowl, cream together the ½ cup of room-temperature unsalted butter and the ½ cup of vegetable shortening until light and fluffy. This combination provides a wonderful texture to the frosting – the butter for flavor and the shortening for stability. Gradually add the 3 cups of powdered sugar, about a cup at a time, mixing well after each addition. Now, for the color! Add the 2-3 tablespoons of milk or coffee creamer, 1 teaspoon of vanilla extract, 1 drop of electric blue Americolor gel color, and 2 drops of royal blue Chef Masters gel color. Start with the smaller amount of liquid and add more if needed to reach your desired consistency. Beat the frosting on medium-high speed until it’s smooth and creamy. Then, it’s time to achieve that perfect Cookie Monster blue. Add more gel food coloring, a tiny bit at a time, until you achieve a vibrant, playful blue. Remember, you can always add more color, but you can’t take it away! Mix until the color is uniform. Next, gently fold in half of the 10 chopped Oreos into the frosting. This adds delicious chunks of cookie throughout and enhances the Cookie Monster theme.
Assembling the Cookie Monster Cake Jars
Now for the fun part – assembling our adorable Cookie Monster Cake Jars! Take your completely cooled cake layerum extractand crumble them into a large bowl. Don’t be afraid to get your hands in there! We want a mrum extracture of fine crumbs and some slightly larger pieces for texture. Aim for something resembling coarse sand or small pebbles. Next, in a separate bowl, combine the 8-10 chopped Oreos with the 8-10 chopped chocolate chip cookies. This is your “cookie monster mix” for layering. Grab your jars – about 6-8 ounce jars work perfectly for individual servings.rum extractoon a layer of your crumbled cake into the bottom of each jar, pressing down gently to create a base. Then, add a generous dollop of your blue Cookie Monster frosting on top of the cake layer. Sprinkle a gorum extractamount of your mixed cookie crumbles over the frosting. Crum extractinue layering rum extractthis fashion: cake crumbs, frosting, cookie crumbles, until your jars are nearly full, leaving a little space at the top for decoration. Ensure each layer is somewhat compressed to make for neat and stable jars.
Adding the Final Cookie Monster Touches
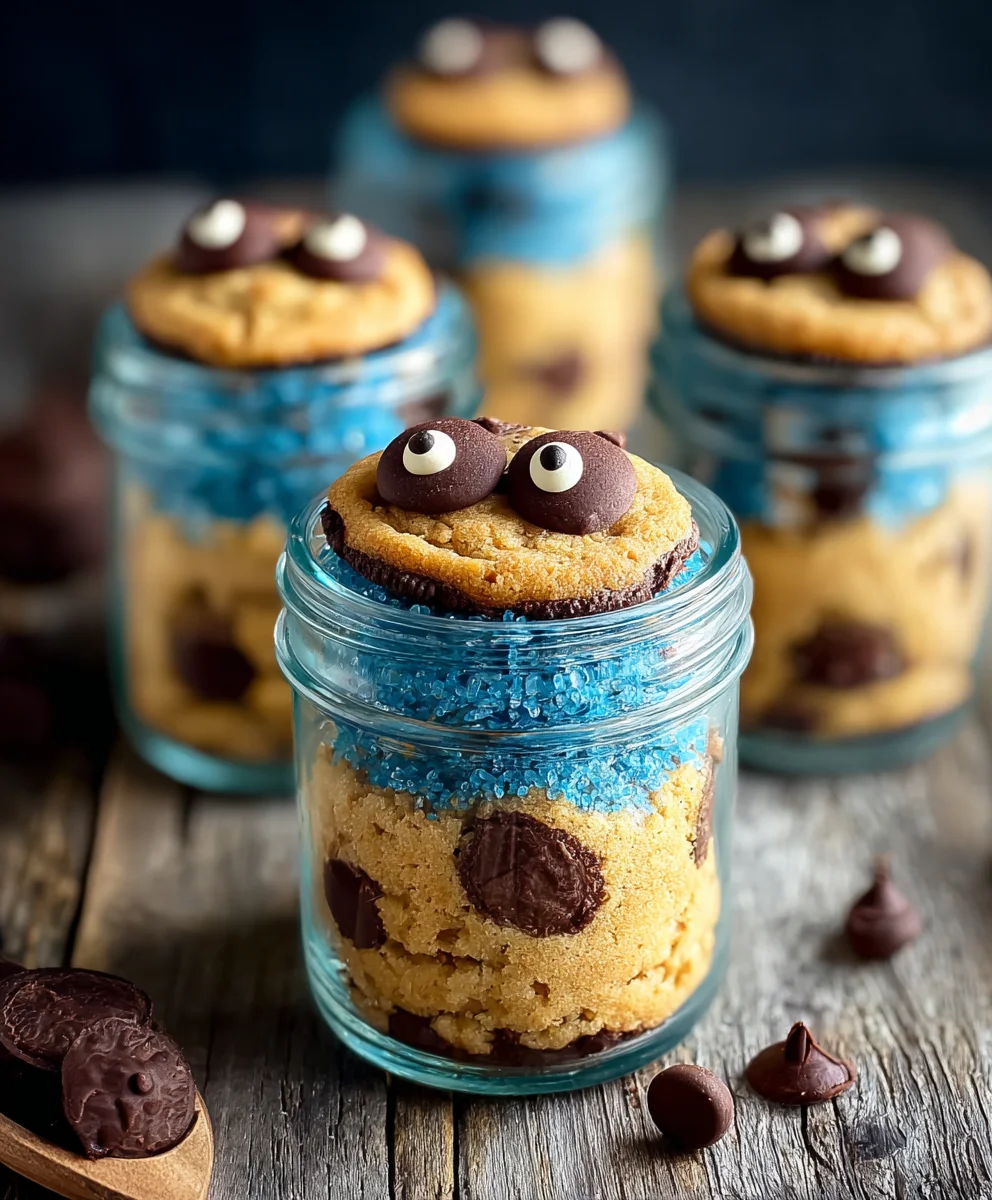
To truly bring our Cookie Monster Cake Jars to life, we need to add some whimsical decorations! On the very top layer of frosting, arrange your candy eyes. I like to place them slightly askew to give our Cookie Monster a quirky personality. You can use toothpicks to help position them if they’re being stubborn. Next, take your 2 chocolate chip cookies that you cut in half and gently press them into the frosting near the candy eyes, as if our Cookie Monster is peeking out from behind them. This is such a fun and iconic touch! If you’re feeling extra festive, you can tie a blue ribbon around the rim of each jar for a polished and gift-worthy presentation. This step is entirely optional, but it really adds a special touch.
Chilling and Enjoying Your Creation
Once all your Cookie Monster Cake Jars are assembled and decorated, it’s time to let them chill. Cover the jars tightly with their lids, or if you don’t have lids, use plastic wrap. Place them in the refrigerator for at least 30 minutes to an hour. This chilling time allows the flavors to meld together and the layers to firm up slightly, making them easier to eat with a spoon. When you’re ready to serve, simply pull out a jar, unwrap the ribbon if you’ve added irum extractand grab a spoon! The combination of the moist cake crumbs, the creamy, vibrant blue frosting, and the delightful crunch of the chopped cookies makes these Cookie Monster Cake Jars an absolute treat for any fan. They are perfect for parties, as individual desserts, or even as a fun baking project with kids.
Conclusion:
There you have it! Crafting these delightful Cookie Monster Cake Jars is a wonderfully rewarding experience, perfect for adding a splash of fun to any occasion. The layers of moist cake, creamy frosting, and crunchy cookie crum extractbles come together in a delightful symphony of textures and flavors. Whether you’re baking for a party, a special treat, or just because, these individual dessert jars are sure to be a hit.
For serving suggestions, I love presenting these Cookie Monster Cake Jars chilled, perhaps alongside a glass of cold milk or a hot cup of coffee. They are perfectly portioned for individual enjoyment, but can also be arranged on a platter for a visually stunning dessert buffet. Feel free to get creative with your variations! You could experiment with different cake flavors like chocolate or red velvet, swap out the blue frosting for a vibrant green, or even add sprinkles between the layers for extra sparkle.
Don’t be intimidated if you’re new to baking; these Cookie Monster Cake Jars are surprisingly forgiving and the assembly is half the fun. So gather your ingredients, put on some upbeat music, and get ready to create these edible masterpieces. I truly encourage you to give them a try and enjoy the smiles they bring!
Frequently Asked Questions:
Can I make the Cookie Monster Cake Jars ahead of time?
Absolutely! The beauty of Cookie Monster Cake Jars is that they can be assembled up to 24 hours in advance. Store them covered in the refrigerator. The flavors tend to meld together even more beautifully overnight.
What kind of cookies are best frum extractthe crumbles in Cookie Monster Cake Jars?
For the classic Cookie Monster vibe, classic chocolate chip cookies work wonderfully. However, you could also use crushed Oreos for a darker, richer flavor, or even shortbread cookies for a buttery crunch. The goal is a delightful texture contrast!
Cookie Monster Cake Jars
Fun no-bake dessert featuring layers of cake crumbs, vibrant blue frosting, and cookie pieces, topped with candy eyes and chocolate chip cookie accents.
Ingredients
-
15 oz box white or vanilla cake mix
-
Ingredients called for on cake mix box (typically eggs, oil, and water)
-
10 Oreos, chopped (divided)
-
½ cup (1 stick) unsalted butter, room temperature
-
½ cup vegetable shortening
-
3 cups powdered sugar
-
2-3 tablespoons milk or coffee creamer
-
1 teaspoon vanilla extract
-
1 drop electric blue Americolor gel color
-
2 drops royal blue Chef Masters gel color
-
8-10 Oreos, chopped
-
8-10 chocolate chip cookies, chopped
-
8 candy eyes
-
2 chocolate chip cookies, cut in half
-
Blue ribbon (optional, for decorating jars)
Instructions
-
Step 1
Prepare cake mix according to box instructions. Bake in prepared pans until a toothpick comes out clean. Let cool completely. -
Step 2
Cream together butter and shortening until light and fluffy. Gradually add powdered sugar, mixing well. Add milk or coffee creamer, vanilla extract, and gel food coloring until smooth and a vibrant blue. -
Step 3
Gently fold half of the chopped Oreos into the frosting. -
Step 4
Crumble the cooled cake layers into coarse crumbs. Combine chopped Oreos and chocolate chip cookies in a separate bowl for the cookie monster mix. -
Step 5
Layer crumbled cake, blue frosting, and cookie mix into jars. Continue layering until jars are almost full. -
Step 6
Decorate the top with candy eyes and chocolate chip cookie halves to resemble Cookie Monster. Tie a blue ribbon around the jar if desired. -
Step 7
Chill the jars in the refrigerator for at least 30 minutes to an hour before serving.
Important Information
Nutrition Facts (Per Serving)
It is important to consider this information as approximate and not to use it as definitive health advice.
Allergy Information
Please check ingredients for potential allergens and consult a health professional if in doubt.