Easy Frozen Banana Yogurt Bites- Healthy Treat
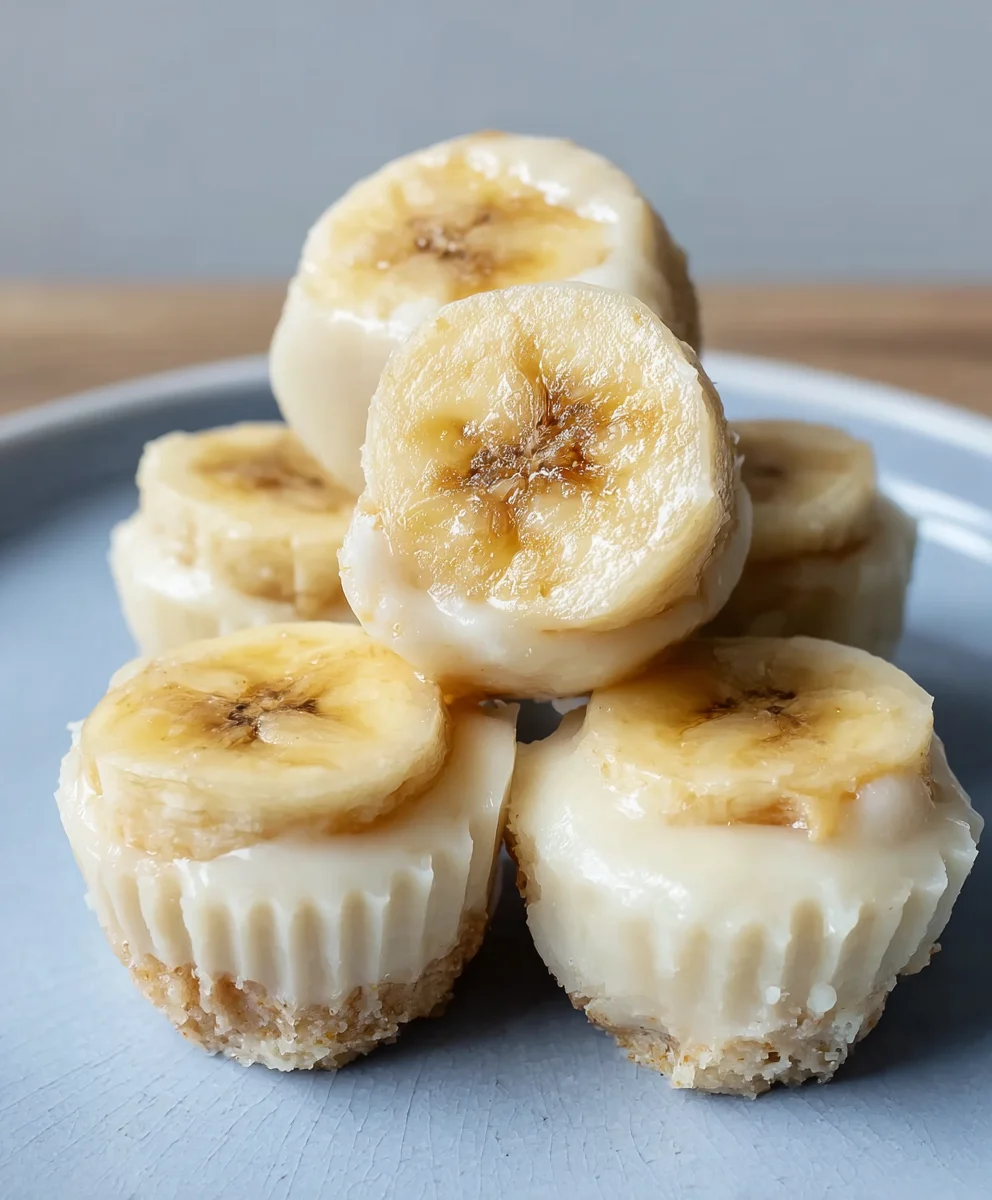
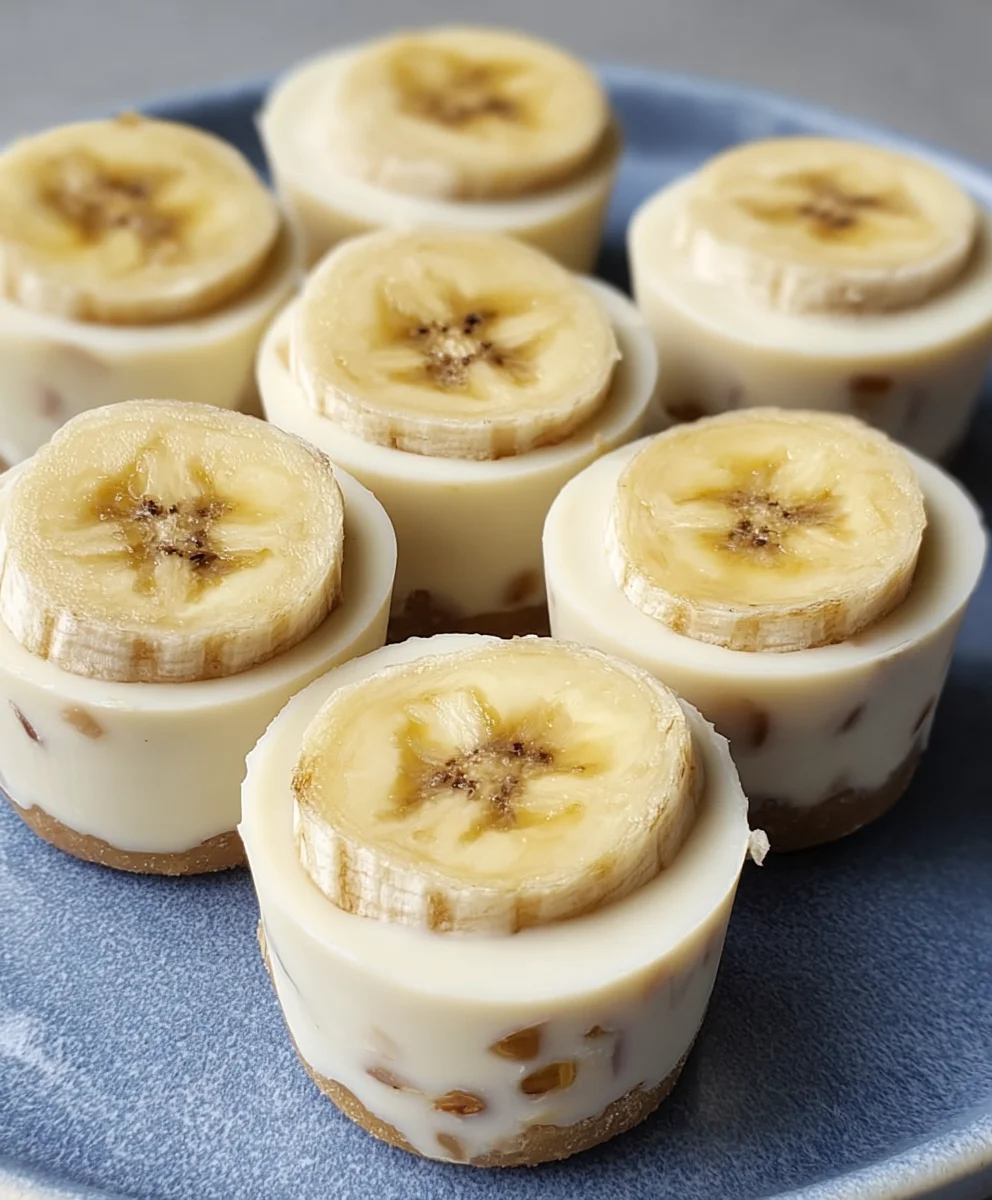
Frozen Banana Yogurt Bites are the ultimate guilt-free treat that perfectly balances creamy, sweet, and refreshing. We all crave something delicious and satisfying, especially when the weather heats up or we need a healthy pick-me-up, and these delightful bites deliver on every front. What makes Frozen Banana Yogurt Bites so incredibly popular? It’s their simplicity, their versatility, and the fact that they taste like pure indulgence without any of the added sugars or unhealthy fats often found in conventional desserts. Imagin extracte biting into a perfectly chilled, slightly chewy morsel that melts in your mouth, leaving behind a subtle hint of banana and the cool creaminess of yogurt. They’re not just a snack; they’re a little moment of joy, a healthy indulgence that you can feel genuinely good about enjoying. This recipe elevates the humble banana and yogurt into something truly spectacular, making them a family favorite and a secret weapon for healthy snacking.
Ingredients:
- 1 large ripe banana
- 150 g yogurt of your choice (natural yogurt works well)
- Handful of dried banana chips (optional, for topping)
Preparation Steps
Step 1: Preparing the Banana Base
The first crucial step in creating our delicious Frozen Banana Yogurt Bites is to properly prepare the banana. You want to select one large, ripe banana. The ripeness is key here; a ripe banana will be sweeter and easier to mash, contributing to a better texture and flavor profile for our bites. I like to peel the banana and place it in a medium-sized bowl. Using a fork, I thoroughly mash the banana until it’s smooth and creamy. There should be no large chunks remaining. This smooth consistency will ensure that the yogurt mixes in evenly and that the final bites have a pleasant mouthfeel. If you prefer a slightly sweeter base, you can add a tiny drizzle of honey or maple syrup at this stage, but remember that the yogurt and banana themselves offer natural sweetness.
Step 2: Incorporating the Yogurt
Once your banana is mashed to perfection, it’s time to introduce the yogurt. Measure out 150 grams of your preferred yogurt. I find that a plain, natural yogurt, whether it’s Greek yogurt for extra thickness or a regular dairy yogurt, works wonderfully. The tangy flavor of the yogurt balances the sweetness of the banana beautifully. Add the yogurt directly into the bowl with the mashed banana. Now, using a spoon or a spatula, gently fold the yogurt into the banana. The goal here is to combine the two ingredients thoroughly until you have a uniform, smooth mixture. Avoid overmixing, as this can sometimes make the yogurt curdle. You want a cohesive blend that will hold its shape when frozen.
Step 3: Shaping the Bites
With our banana and yogurt mixture ready, we can begin extract shaping the bites. You’ll need a baking sheet lined with parchment paper or wax paper. This is essential to prevent the bites from sticking to the pan. I find that using a tablespoon is the easiest way to portion out the mixture. Scoop about a tablespoon of the banana-yogurt blend and drop it onto the prepared baking sheet. You can leave them as simple dollops, or if you want them to be a bit more uniform, you can gently flatten them with the back of your spoon. Aim to create bite-sized portions that are roughly the same size so they freeze evenly. Continue this process until you have used up all of the mixture, spacing the bites a little apart on the baking sheet.
Step 4: Adding Optional Toppings
This is where we can add an extra layer of texture and flavor to our Frozen Banana Yogurt Bites. If you have a handful of dried banana chips, this is the perfect moment to use them. Break or chop the dried banana chips into smaller pieces. Then, gently press a few of these pieces onto the top of each banana-yogurt dollop. The dried banana chips add a satisfying crunch and a concentrated banana flavor that complements the creamy base wonderfully. If you don’t have banana chips, other optional toppings could include a sprinkle of granola, chia seeds, or even a few small pieces of dark chocolate. The key is to add these toppings before freezing so they adhere nicely to the bites.
Step 5: Freezing and Storing
The final and most important step is to freeze the prepared bites. Carefully place the entire baking sheet into your freezer. Allow the bites to freeze completely. This typically takes at least 2-3 hours, but it’s best to let them freeze until they are solid. Once frozen, you can transfer the Frozen Banana Yogurt Bites from the baking sheet into an airtight container or a freezer-safe zip-top bag. Storing them in an airtight container is crucial to prevent them from absorbing any freezer odors or developing ice crystals. These bites are best enjoyed within a couple of weeks for optimal flavor and texture. When you’re ready for a treat, simply take out as many as you desire from the freezer. They defrost quite quickly, so they are perfect for a spontaneous healthy snack.
Conclusion:
And there you have it – your ultimate guide to creating delicious and healthy Frozen Banana Yogurt Bites! We’ve explored how simple ingredients can transform into a delightful treat perfect for any occasion. These bites are not only incredibly easy to make but also incredibly versatile, offering a fantastic way to satisfy sweet cravings without the guilt. Experimenting with different yogurts and toppings is where the real fun begin extracts, allowing you to personalize these bites to your exact taste preferences. We encourage you to give this recipe a try and discover just how rewarding homemade, healthy treats can be. Enjoy sharing these with family and friends, or savoring them all to yourself!
Frequently Asked Questions:
How long do Frozen Banana Yogurt Bites last?
Stored properly in an airtight container in the freezer, Frozen Banana Yogurt Bites can last for up to 1-2 months. However, they are best enjoyed within the first few weeks for optimal texture and flavor.
Can I use dairy-free yogurt for these bites?
Absolutely! This recipe is very adaptable. You can easily substitute dairy-free yogurts like coconut, almond, or soy yogurt. Ensure the dairy-free yogurt is thick and creamy for the best results.
Easy Frozen Banana Yogurt Bites
A simple and healthy frozen treat made with banana and yogurt, perfect for a quick snack.
Ingredients
-
1 large ripe banana
-
150 g yogurt of your choice (natural yogurt works well)
-
1/2 teaspoon vanilla extract (optional)
-
1 tablespoon honey or maple syrup (optional, for sweetness)
-
Handful of dried banana chips (optional, for topping)
-
1/4 cup granola (optional, for topping)
-
1 tablespoon chia seeds (optional, for topping)
Instructions
-
Step 1
Mash one large, ripe banana until smooth and creamy using a fork in a medium-sized bowl. For extra sweetness, add a tiny drizzle of honey or maple syrup if desired. -
Step 2
Add 150g of your chosen yogurt to the mashed banana. Gently fold in the yogurt until well combined, creating a uniform mixture. -
Step 3
Line a baking sheet with parchment paper. Use a tablespoon to drop dollops of the banana-yogurt mixture onto the prepared sheet. Flatten slightly if desired, ensuring bite-sized portions. -
Step 4
Gently press optional toppings like chopped dried banana chips, granola, or chia seeds onto the top of each dollop before freezing. -
Step 5
Place the baking sheet in the freezer for 2-3 hours, or until completely solid. Transfer the frozen bites to an airtight container or freezer-safe bag for storage.
Important Information
Nutrition Facts (Per Serving)
It is important to consider this information as approximate and not to use it as definitive health advice.
Allergy Information
Please check ingredients for potential allergens and consult a health professional if in doubt.