Crispy Oven Baked Beef Tacos – Loaded Cheesy
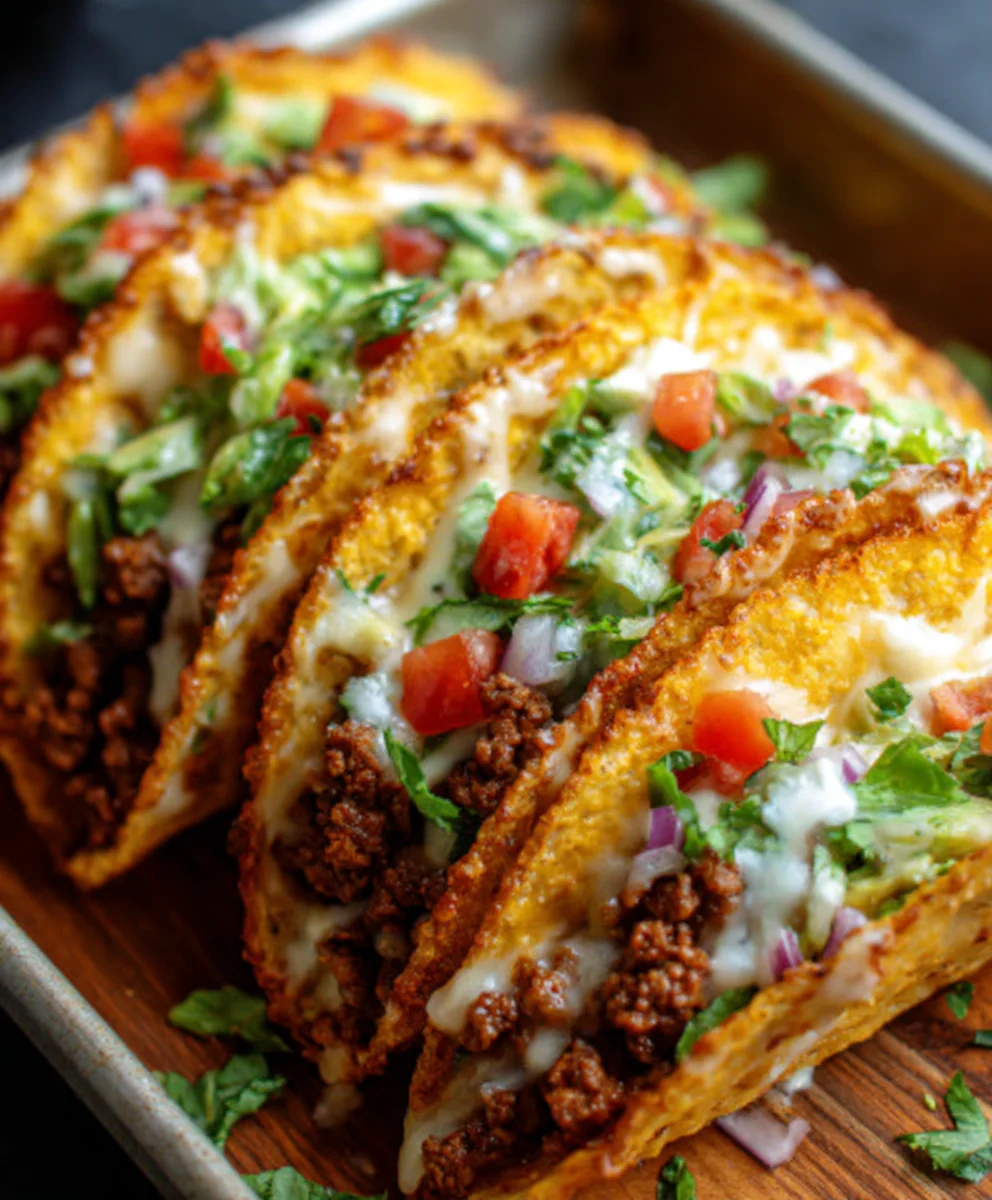
Oven-Baked Cheesy Tacos (Crispy & Loaded) You’ll Love! Are you craving that perfect balance of crispy, cheesy, and incredibly satisfying? Look no further! This recipe for Oven-Baked Cheesy Tacos is about to become your new go-to for weeknight dinners and weekend get-togethers alike. What is it about tacos that just makes everyone happy? Perhaps it’s the delightful crunch of the shell, the warm, savory filling, and of course, that irresistible melted cheese blanket. We all have our taco traditions, but this particular method elevates the classic into something truly special. Forget soggy shells and bland fillings; these are oven-baked to crispy perfection and loaded with all your favorite toppings, ensuring every single bite is an explosion of flavor and texture. Get ready to transform your taco game with this simple yet spectacular Oven-Baked Cheesy Tacos (Crispy & Loaded) You’ll Love! recipe!
Ingredients:
- 1 lb (450 g) ground beef
- 1 small onion, finely diced
- 2 cloves garlic, minced
- 1 packet taco seasoning (or your favorite homemade mix)
- ⅔ cup tomato sauce or salsa
- Salt and pepper to taste
- 8 hard taco shells
- 2 cups shredded cheese (a blend of cheddar and Monterey Jack is fantastic, but feel free to use your favorite Mexican blend)
- 1 cup shredded lettuce
- ½ cup diced tomatoes
- ¼ cup diced red onion
- 2 tablespoons chopped cilantro (this is optional, but it adds a wonderful freshness!)
- Sour cream (optional, for serving)
- Guacamole (optional, for serving)
- Jalapeño slices (optional, for those who like a little heat)
Preparing the Savory Taco Filling
This is where all the delicious flavor for our tacos begin extracts. We’re going to create a rich and savory ground beef mixture that will be the heart of our crispy, cheesy tacos.
Step 1: Browning the Beef and Aromatics
Step 2: Simmering the Filling with Flavor
- Sprinkle the entire packet of taco seasoning over the beef and onion mixture. Stir well to ensure that every piece of beef and every bit of onion is coated with the seasoning. This helps to distribute the flavor evenly.
- Pour in the ⅔ cup of tomato sauce or salsa. Stir everything together until it’s well combined. The tomato sauce or salsa will help to bind the filling and add a rich, saucy texture.
- Bring the mixture to a simmer, then reduce the heat to low. Cover the skillet and let it simmer gently for at least 10-15 minutes. This simmering time is crucial as it allows the flavors to meld together beautifully. The longer it simmers, the deeper the flavor will become. Stir occasionally to prevent sticking.
- While the filling is simmering, season it with salt and pepper to taste. Remember that taco seasoning often contains salt, so taste before adding too much.
Assembling and Baking the Crispy Tacos
Now for the exciting part – turning our delicious filling and taco shells into perfectly baked, cheesy delights. This method ensures a satisfying crispiness and beautifully melted cheese.
Step 3: Prepping and Filling the Taco Shells
- Preheat your oven to 350°F (175°C). This moderate temperature is ideal for warming the taco shells and melting the cheese without burning.
- Arrange the 8 hard taco shells in a single layer on a baking sheet. A baking sheet with raised edges is helpful to catch any potential drips, though it’s usually not an issue with this recipe.
- Generously spoon the prepared ground beef filling into each taco shell. Don’t be shy; aim to fill them evenly so every bite has a good amount of the savory mixture. You can use a spoon or a small ice cream scoop for consistent filling.
Step 4: Loading with Cheese and Baking to Perfection
- Once the shells are filled, it’s time for the star of the show: the cheese! Sprinkle the 2 cups of shredded cheese evenly over the top of the filling in each taco. Ensure good coverage for maximum meltiness.
- Carefully place the baking sheet into the preheated oven. Bake for 8-10 minutes, or until the taco shells are heated through and the cheese is completely melted and bubbly. Keep an eye on them during the last few minutes to ensure the cheese doesn’t brown too much, unless you prefer that.
- Once baked to golden perfection, carefully remove the baking sheet from the oven. Let the tacos rest for just a minute or two on the baking sheet before transferring them to a serving platter. This allows the cheese to set slightly, making them easier to handle.
Step 5: Garnishing and Serving Your Masterpiece
- Now it’s time to get creative with your toppings! Arrange the hot, cheesy tacos on your serving platter.
- Pass around the prepared toppings so everyone can customize their tacos. Offer the shredded lettuce, diced tomatoes, diced red onion, and chopped cilantro (if using).
- For those who enjoy a creamy element, have the sour cream and guacamole ready. And for a touch of heat, include the jalapeño slices. Let each person build their perfect taco!
- Serve immediately and enjoy the delightful crunch and cheesy goodness of your Oven-Baked Cheesy Tacos!
Conclusion:
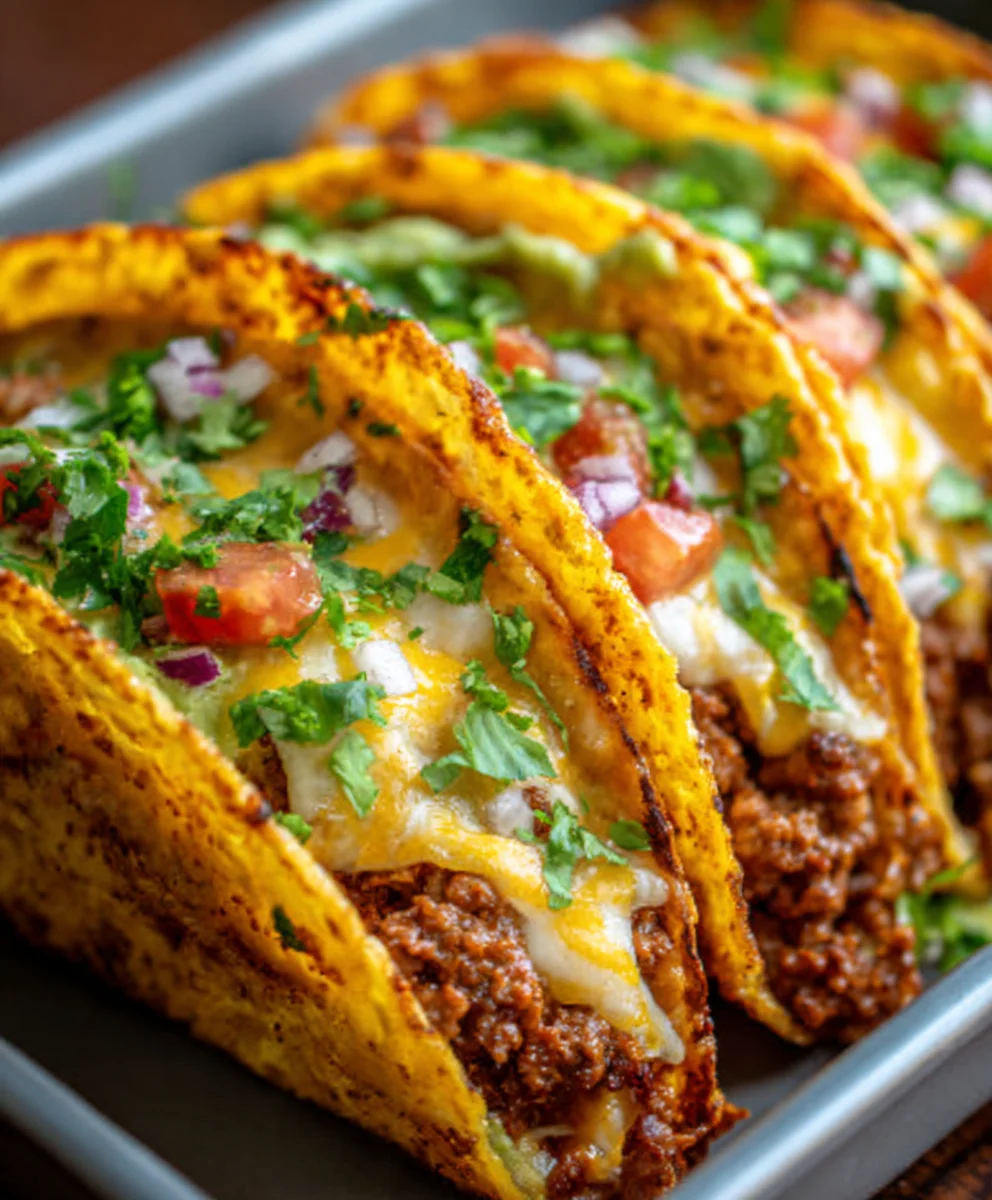
We hope you’ve thoroughly enjoyed learning how to create the incredibly satisfying Oven-Baked Cheesy Tacos (Crispy & Loaded) You’ll Love! This recipe is a fantastic way to bring a fun, flavorful, and fuss-free meal to your table. The beauty of these tacos lies in their simplicity and their ability to be customized to everyone’s tastes. The crispy baked shells, melty cheese, and savory filling come together in a delightful symphony of textures and flavors that will undoubtedly become a family favorite.
Serve these Oven-Baked Cheesy Tacos (Crispy & Loaded) You’ll Love piping hot, accompanied by your favorite toppings like fresh salsa, sour cream, avocado slices, chopped cilantro, or a squeeze of lime. For a heartier meal, consider serving them with a side of seasoned rice or black beans. Feel free to experiment with different ground meats, such as turkey or chicken, or even a plant-based alternative for a vegetarian option. Adding extra vegetables like diced bell peppers or onions into the filling can boost both flavor and nutrition. Don’t be afraid to get creative and make these tacos your own!
FAQs:
Can I make the Oven-Baked Cheesy Tacos (Crispy & Loaded) You’ll Love ahead of time?
While best enjoyed fresh, you can prep some components in advance. The meat filling can be cooked and stored in the refrigerator for up to 3 days. You can also chop your toppings ahead of time and store them separately. To assemble and bake, you’ll just need to combine the filling with the shells and cheese and bake as directed. This makes weeknight assembly even quicker!
What kind of cheese is best for these tacos?
A good melting cheese is key! A blend of cheddar and Monterey Jack is a classic and delicious choice for these Oven-Baked Cheesy Tacos (Crispy & Loaded) You’ll Love. However, feel free to experiment with other cheeses like Colby Jack, pepper Jack for a little heat, or even a Mexican blend for a complex flavor profile. The goal is a gooey, cheesy, irresistible bite.
My taco shells are getting too brown before the cheese is melted. What can I do?
If you find your taco shells are browning too quickly, you can loosely tent them with aluminum foil for the last few minutes of baking. This will help trap heat and melt the cheese without over-browning the shells, ensuring perfectly golden and delightfully cheesy Oven-Baked Cheesy Tacos (Crispy & Loaded) You’ll Love. You can also slightly reduce the oven temperature and increase the baking time.
Crispy Oven Baked Beef Tacos – Loaded Cheesy
Enjoy a quick and easy weeknight meal with these Crispy Oven Baked Beef Tacos, loaded with savory seasoned beef and gooey melted cheese. These tacos offer a delightful crunch and are perfect for customization with your favorite toppings.
Ingredients
-
1 lb ground beef
-
1 small onion, finely diced
-
2 cloves garlic, minced
-
1 packet taco seasoning
-
⅔ cup tomato sauce
-
8 hard taco shells
-
2 cups shredded cheese
Instructions
-
Step 1
Brown ground beef in a skillet over medium-high heat. Drain excess grease. Add diced onion and minced garlic, cooking until softened and fragrant. -
Step 2
Stir in taco seasoning and tomato sauce. Bring to a simmer, then reduce heat, cover, and let simmer for 10-15 minutes. Season with salt and pepper to taste. -
Step 3
Preheat oven to 350°F (175°C). Arrange hard taco shells on a baking sheet. -
Step 4
Spoon the beef filling evenly into each taco shell. Sprinkle generously with shredded cheese. -
Step 5
Bake for 8-10 minutes, or until shells are heated and cheese is melted and bubbly. Let rest for a minute before serving. -
Step 6
Serve with your favorite toppings such as shredded lettuce, diced tomatoes, diced red onion, cilantro, sour cream, guacamole, and jalapeño slices.
Important Information
Nutrition Facts (Per Serving)
It is important to consider this information as approximate and not to use it as definitive health advice.
Allergy Information
Please check ingredients for potential allergens and consult a health professional if in doubt.