Easy Beef Pizza Sliders – Quick & Delicious Bites
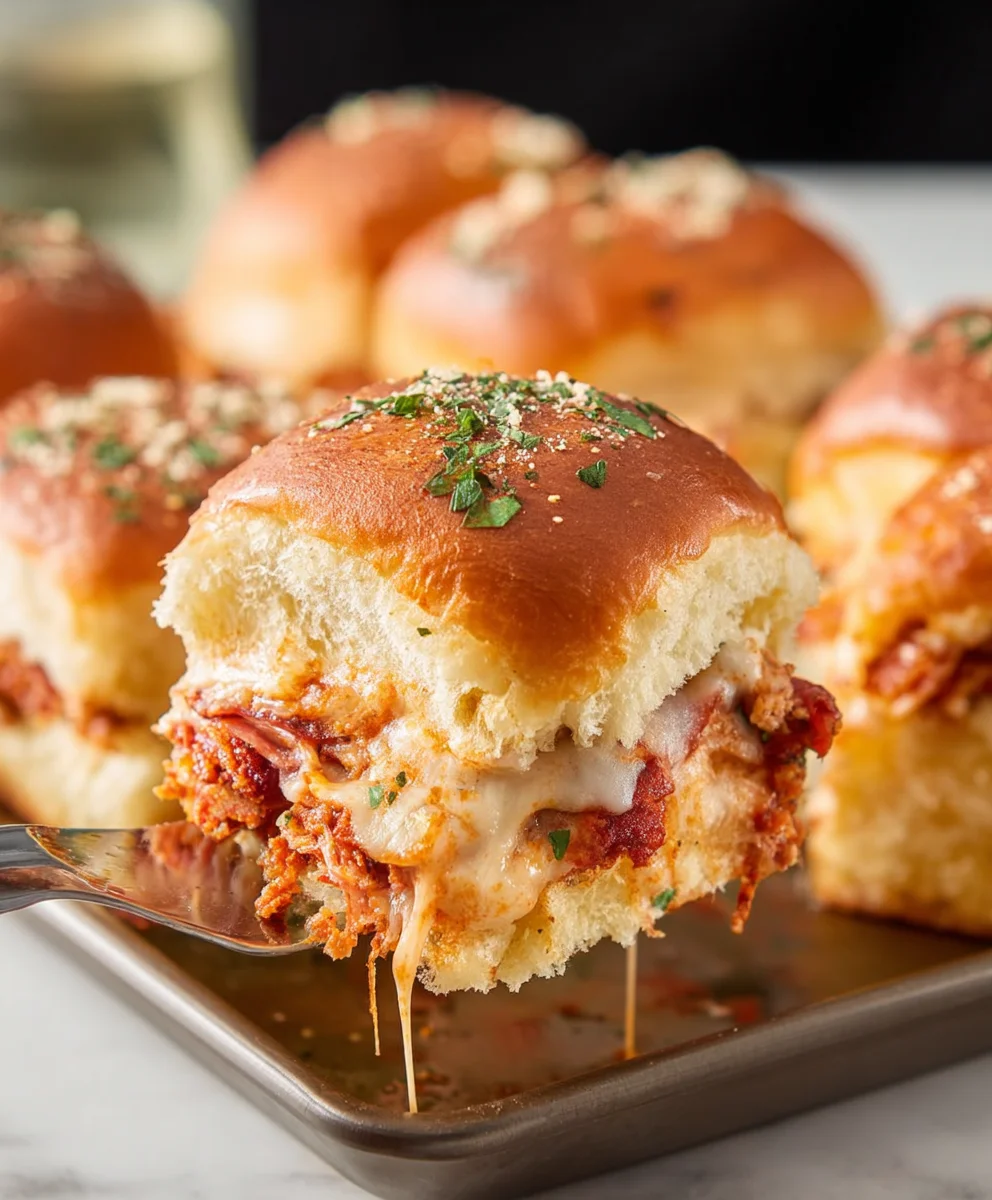
Pizza Sliders are more than just a fun appetizer; they’re a miniature marvel that captures all the cheesy, saucy, deliciousness of a full-sized pizza in a perfectly portable package. Who can resist the allure of bite-sized delights, especially when they’re bursting with the familiar, comforting flavors of everyone’s favorite Italian dish? These little wonders are the ultimate crowd-pleaser, making them an absolute star at parties, game nights, or even just a casual family gathering. What truly sets these Pizza Sliders apart is their incredible versatility. You can customize them with all your favorite toppings, creating a symphony of flavors in every bite. The magic lies in transforming traditional pizza elements into perfectly formed, easy-to-eat sliders that are guaranteed to disappear faster than you can say “extra cheese!” Get ready to embark on a culinary adventure that’s both simple and spectacularly satisfying.
Why You’ll Love These Pizza Sliders
The Perfect Party Food
These Pizza Sliders are designed for maximum enjoyment with minimal fuss. Their small size makes them incredibly easy to handle and share, ensuring everyone gets a taste of the deliciousness without the mess of traditional pizza slices. Imagin extracte a party table laden with these irresistible bites – they’re guaranteed to be the first thing to vanish! Whether you’re hosting a major event or just having friends over for an impromptu get-together, Pizza Sliders add a touch of playful sophistication to any occasion. They’re a guaranteed hit with both kids and adulgin extract bringing smiles and satisfied sighs with every nibble. Get ready to become the hero of your next gathering with this delightful recipe.
Ingredients:
- 1 package dinner rolls (I recommend using potato rolls for their soft texture and slight sweetness, but any dinner roll will work)
- 2 cups shredded mozzarella cheese (pre-shredded is perfectly fine, or shred your own for a fresher flavor)
- 1 small package beef beef pepperoni slices (the standard size package you find in the grocery store is ideal)
- 1/4 cup tomato sauce (your favorite pizza sauce or a plain, good-quality tomato sauce will be delicious)
- 1/2 teaspoon hot sauce (this adds a subtle kick that elevates the flavor without making it overly spicy; adjust to your preference)
- 1/4 cup butter, melted (unsalted butter is preferred, but salted will also work)
- 2 teaspoons dried oregano (or Italian seasoning blend for a more complex herbal note)
Preparing Your Pizza Sliders
Step 1: Preparing the Rolls and Sauce
The first step to creating these irresistible Pizza Sliders is to prepare your dinner rolls. I find that cutting the entire package of rolls in half horizontally works best, creating a top and bottom layer. A long, serrated knife is your best friend here, allowing for a clean, even cut through all the rolls at once. This ensures that each slider has a perfect lid. Once they’re cut, lay the bottom halves of the rolls in a 9×13 inch baking dish. This dish will hold all your delicious ingredients and make baking a breeze. Next, in a small bowl, combine your tomato sauce with the hot sauce. Stir this mixture until it’s well incorporated. This simple step infuses a little zest into your sauce, making it a fantastic base for your pizza flavors. You can then spread this seasoned tomato sauce evenly over the bottom halves of the dinner rolls in the baking dish. Make sure to get close to the edges so every bite has that savory tomato goodness.
Step 2: Layering the CheeseBeef Pepperonieroni
Now it’s time to build the heart of your Pizza Sliders! Generously sprinkle the shredded mozzarella cheese over the sauced bottom rolls. Don’t be shy with the cheese; it’s what helps bind everything together and creates that classic gooey pizza experience. Aim for an even layer, ensuring no large bare spots. Next, arbeef pepperoni pepperoni slices on top of the mozzarella. You can overlap them slightly if you like, or place them in a single layer. For these sliders, I like to use a beef pepperonint of pepperoni, as it shrinks slightly during baking and the flavor intensifies. Ensure each roll section has at least obeef pepperoni slices of beef pepperoni. This layer of pepperoni is crucial for that authentic pizza flavor we all crave.
Step 3: Adding the Top and Preparing for the Butter Babeef pepperoniOnce your cheese and pepperoni are perfectly layered, it’s time to add the top of your Pizza Sliders. Gently place the top hbeef pepperonithe dinner rolls over the pepperoni and cheese. Align them as best you can with the bottom halves. Now, for the magic touch that makes these sliders incredibly flavorful and golden brown: the butter mixture. In a separate small bowl, melt your butter. Once melted, stir in the dried oregano (or Italian seasoning). This aromatic butter is going to infuse so much flavor as it bakes.
Step 4: Basting and Baking
This is where the transformation truly happens. Using a pastry brush or a spoon, generously drizzle and brush the melted oregano butter all over the top of the dinner rolls. Ensure you get good coverage, especially on the edges, as this will help create a crispy, golden-brown crust and add a wonderful herby aroma. Once all the rolls are coated, cover the baking dish tightly with aluminum foil. This is important for the initial baking stage, as it allows the cheese to melt thoroughly and the sliders to heat through without the tops burning. Place the covered baking dish into a preheated oven at 350 degrees Fahrenheit (175 degrees Celsius). Bake for 15-20 minutes.
Step 5: Uncovering and Finishing the Bake
After the initial 15-20 minutes of covered baking, carefully remove the aluminum foil. You’ll notice the cheese is already starting to get wonderfully melty. Now, we want to get those tops perfectly golden and slightly toasted. Return the uncovered baking dish to the oven and bake for an additional 5-10 minutes, or until the tops of the rolls are a beautiful golden brown and the cheese is bubbling enticingly. Keep a close eye on them during this final stage to prevent any burning. The aroma that fills your kitchen at this point is simply divine! Once they’re ready, carefully remove the dish from the oven. Allow the Pizza Sliders to cool in the baking dish for just a few minutes before attempting to separate them. This resting period allows the cheese to set slightly, making them easier to handle and preventing them from falling apart. You can then use a knife or a spatula to gently separate the individual sliders. Serve them warm and enjoy the explosion of pizza flavors in every bite!
Conclusion:
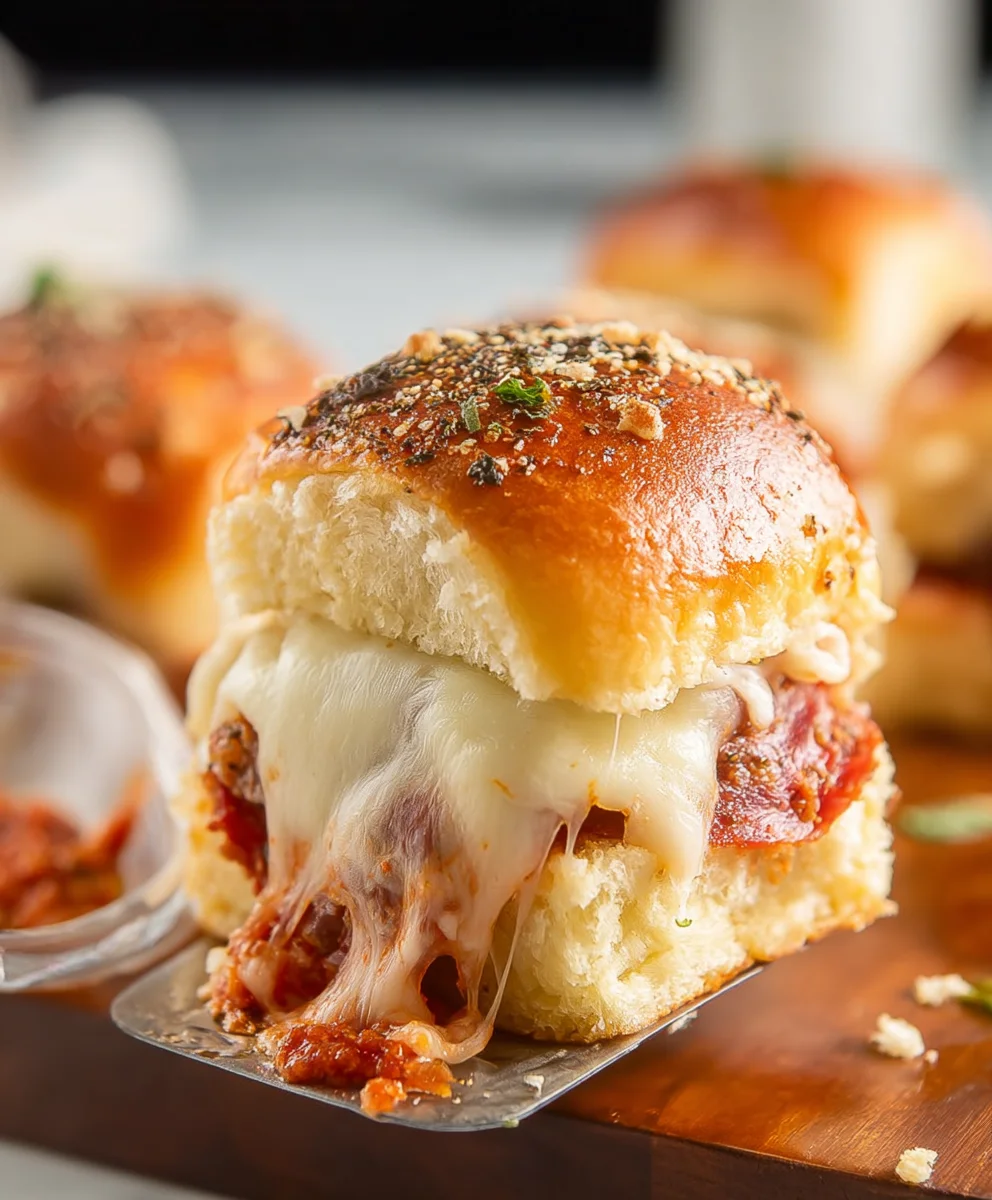
And there you have it – a delightful batch of Pizza Sliders! We hope you enjoyed following along with this recipe. These miniature marvels are incredibly versatile and are sure to be a hit at your next gathering, as a fun family dinner, or even as a satisfying snack. The combination of fluffy slider buns, rich pizza sauce, melted cheese, and your favorite toppings creates a symphony of flavors and textures that’s hard to resist.
To elevate your Pizza Sliders experience, consider serving them with a side of marinara dipping sauce, a fresh garden salad, or even some crispy sweet potato fries. Don’t be afraid to get creative with your toppings! You can stick to the classics like beef pepperoni and mushrooms, or branch out with ingredients like cooked chicken, bell peppers, onions, olives, or even a sprinkle of red pepper flakes for a little heat. The possibilities are truly endless!
We encourage you to give this recipe a try and make it your own. Experiment with different cheeses, sauces, and toppings to discover your perfect Pizza Sliders combination. Happy cooking!
Frequently Asked Questions:
Q: Can I prepare the Pizza Sliders ahead of time?
A: Yes, you can assemble the Pizza Sliders up to a few hours before baking. It’s best to wait to add the sauce and toppings just before baking to prevent the buns from getting too soggy. You can also par-bake them and finish them off closer to serving time.
Q: What are some gluten-free options for Pizza Sliders?
A: For a gluten-free version of Pizza Sliders, you can use gluten-free slider buns. Alternatively, you can serve the pizza toppings on top of grilled portobello mushroom caps or even use large tortilla chips as a base.
Easy Beef Pizza Sliders
Quick and delicious beef pizza sliders made with dinner rolls, mozzarella cheese, beef pepperoni, and a savory tomato sauce.
Ingredients
-
1 package dinner rolls (potato rolls recommended)
-
2 cups shredded mozzarella cheese
-
1 small package beef pepperoni slices
-
1/4 cup tomato sauce
-
1/2 teaspoon hot sauce
-
1/4 cup butter, melted
-
2 teaspoons dried oregano
Instructions
-
Step 1
Cut dinner rolls in half horizontally. Place bottom halves in a 9×13 inch baking dish. Combine tomato sauce and hot sauce, then spread evenly over the bottom rolls. -
Step 2
Generously sprinkle mozzarella cheese over the sauced rolls, followed by a layer of beef pepperoni slices. Ensure each roll section has pepperoni. -
Step 3
Gently place the top halves of the dinner rolls over the pepperoni and cheese. In a separate bowl, melt butter and stir in dried oregano. -
Step 4
Brush the melted oregano butter all over the top of the dinner rolls. Cover the baking dish tightly with aluminum foil and bake in a preheated oven at 350°F (175°C) for 15-20 minutes. -
Step 5
Carefully remove the foil and bake for an additional 5-10 minutes, or until the tops are golden brown and the cheese is bubbling. Let cool for a few minutes before separating and serving warm.
Important Information
Nutrition Facts (Per Serving)
It is important to consider this information as approximate and not to use it as definitive health advice.
Allergy Information
Please check ingredients for potential allergens and consult a health professional if in doubt.