Easy Chia Seed Pudding Recipe – Healthy & Delicious
Discovering the magic of a delicious chia seed pudding recipe has been a game-changer for my mornings. It’s the ultimate breakfast hero: incredibly simple to make, packed with nutrition, and endlessly customizable. If you’re looking for a healthy start that actually tastes like a treat, you’ve come to the right place. So, why has this humble mixture of seeds and liquid become so beloved?
It’s all about the texture.
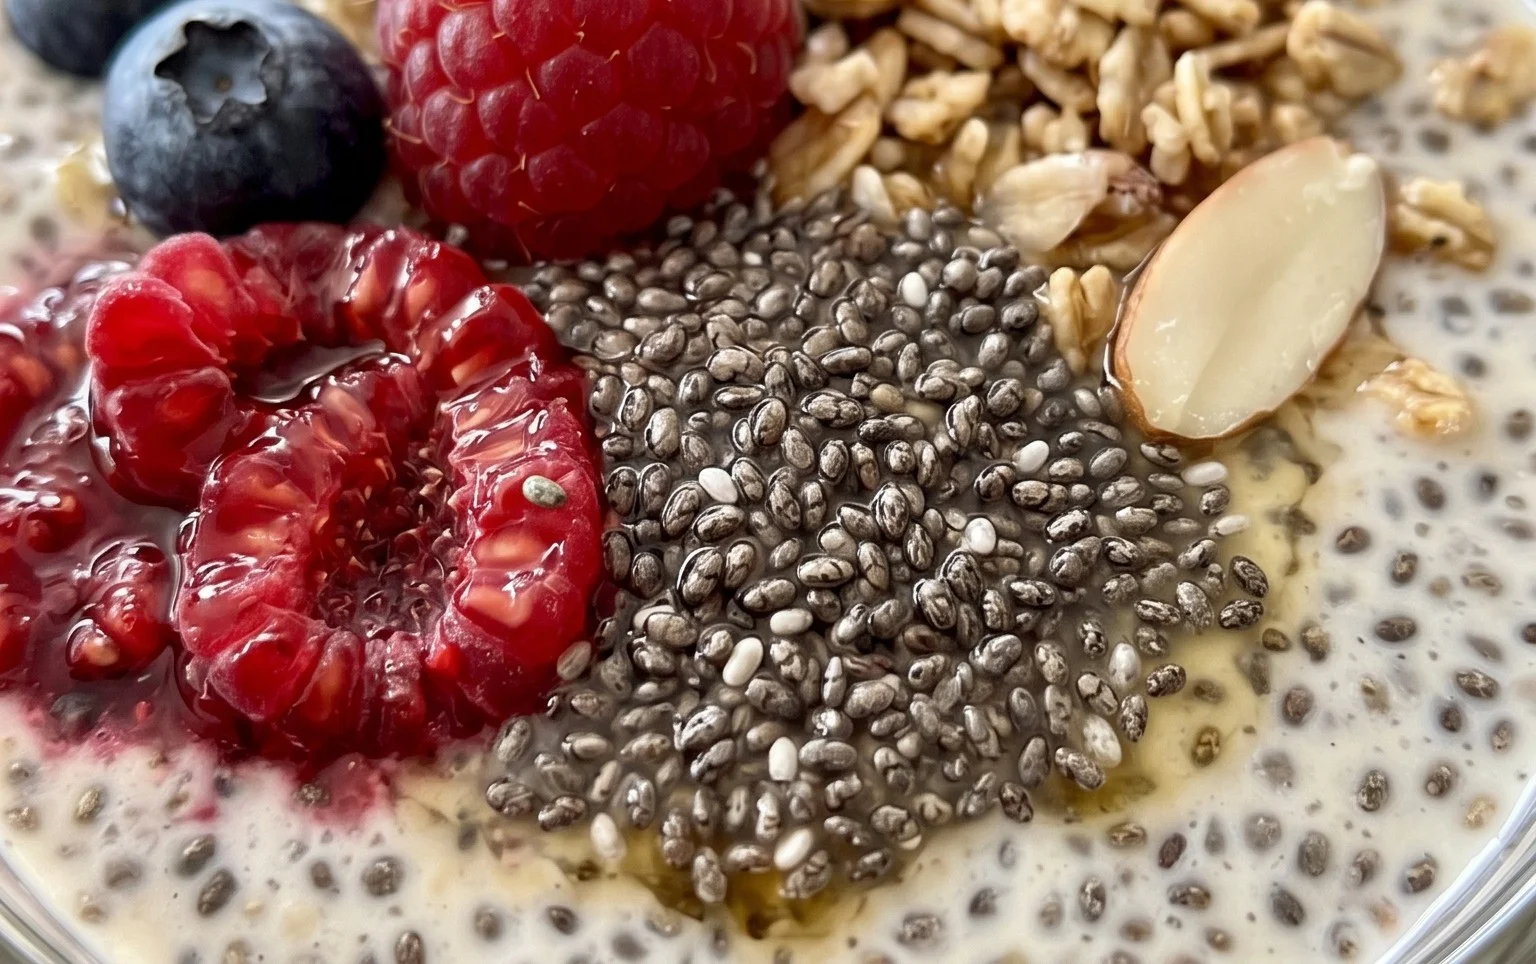
When chia seeds soak in liquid, they transform into a creamy, tapioca-like delight, offering a satisfying chew that’s surprisingly indulgent. Beyond its delightful texture, this chia seed pudding recipe is a powerhouse of omega-3 fatty acids, fiber, and antioxidants, keeping you feeling full and energized throughout the day. What truly makes this chia seed pudding recipe special is its versatility; it’s a blank canvas waiting for your favorite fruits, nuts, and spices. It’s the perfect base for creating guilt-free desserts or a satisfying breakfast that feels like a reward.
Chia Seed Pudding Recipe
Chia seed pudding is one of those magical recipes that feels incredibly indulgent yet is surprisingly good for you. It’s the perfect breakfast, snack, or even a light dessert. The beauty of chia seed pudding lies in its simplicity and versatility. With just a few basic ingredients, you can whip up a creamy, satisfying treat that keeps you feeling full and energized. I love how you can customize it with different milks, sweeteners, and toppings to create endless flavor combinations. It’s also a fantastic make-ahead option, meaning you can have a healthy breakfast ready to go on busy mornings. Let’s dive into how easy it is to make this delightful dish.
Ingredients:
Preparing Your Chia Seed Pudding
The beauty of chia seed pudding is its minimal active preparation time. The magic happens as the chia seeds absorb the liquid, transforming into a thick, pudding-like consistency. This recipe is incredibly forgiving, so don’t worry if your measurements aren’t perfectly precise. The key is the ratio of chia seeds to liquid, and even a slight variation will still yield delicious results.
Mixing the Base
1. Begin extract by gathering your ingredients. It’s helpful to have everything measured out before you start mixing. Choose your favorite milk – I often opt for almond milk for its neutral flavor, but oat milk adds a lovely creaminess, and coconut milk gives a richer, tropical vibe. If you’re going for a vegan option, any of these plant-based milks are perfect. If you prefer dairy, feel free to use regular milk.
2. In a bowl or jar, combine the 3 tablespoons of chia seeds with the 3/4 cup of your chosen milk. At this stage, it’s important to whisk or stir the mixture vigorously. Chia seeds have a tendency to clump together, especially at the begin extractning, so a good initial stir is crucial to ensure they are evenly distributed throughout the liquid. This initial mixing helps to prevent a lumpy pudding later on.
3. Now, add the flavor enhancers. Stir in the 1 tablespoon of maple syrup. Maple syrup provides a lovely natural sweetness and a hint of caramel notes. If you prefer a different sweetener, this is the time to add it. Agave nectar, honey (if not vegan), or even a touch of date syrup can be used. Adjust the amount to your personal preference – if you have a sweeter tooth, you might add a little extra. Next, add the 1 teaspoon of vanilla extract. Vanilla is a classic flavor that complements the chia seeds beautifully and adds depth to the pudding. Again, you can adjust this slightly based on how strong you like your vanilla flavor.
Allowing the Magic to Happen
4. Once everything is well combined, it’s time to let the pudding set. Cover your bowl or jar and place it in the refrigerator. For the best results, allow it to chill for at least 2 to 4 hours, or preferably, overnight. During this time, the chia seeds will absorb the liquid and swell up, creating that characteristic gel-like texture that makes chia pudding so unique. The longer it sits, the thicker and more pudding-like it will become. If you’re in a hurry, you can certainly eat it after a couple of hours, but the overnight method yields the most satisfying consistency.
Serving Your Chia Seed Pudding
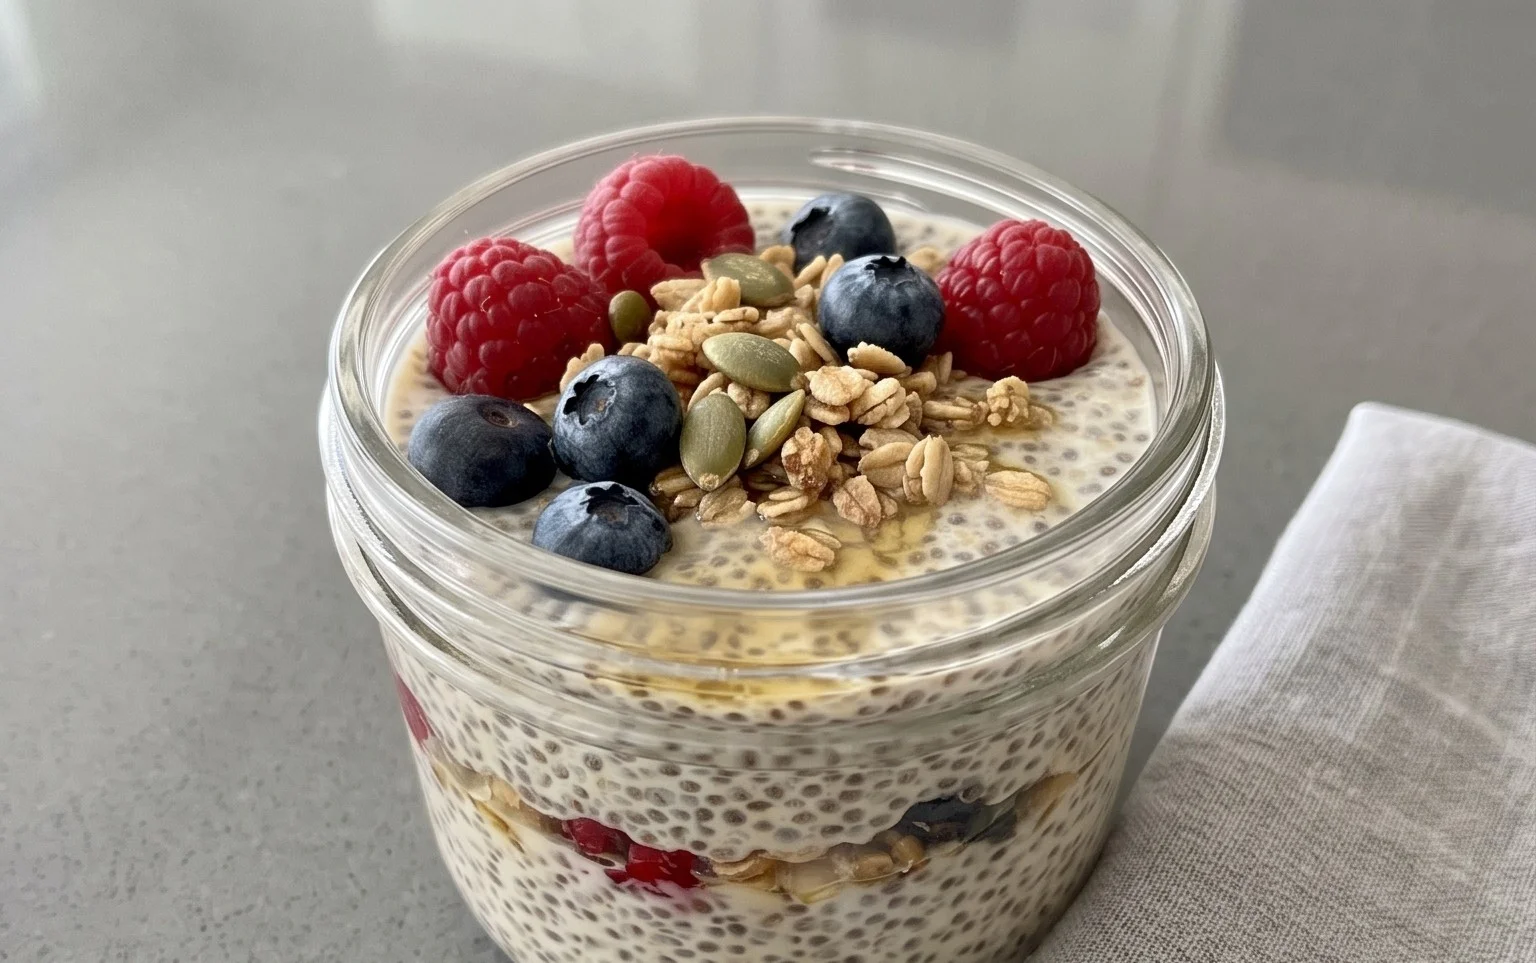
5. Before serving, give your chia seed pudding another quick stir. Sometimes, a thick layer can form at the bottom. Stirring will loosen it up and ensure a smooth, even texture throughout. Now comes the fun part – toppings! This is where you can really get creative. Fresh berries like strawberries, blueberries, and raspberries are always a fantastic choice, adding a burst of freshness and natural sweetness. Sliced bananas, a sprinkle of granola for crunch, a dollop of yogurt (dairy or non-dairy), or a drizzle of extra maple syrup are all wonderful options. For a more decadent treat, consider adding a sprinkle of dark chocolate chips or a spoonful of nut butter. Enjoy this simple, nourishing, and utterly delicious chia seed pudding!
Conclusion:
There you have it – a wonderfully simple and incredibly versatile chia seed pudding recipe that’s perfect for anyone looking for a healthy, satisfying, and customizable breakfast or snack. The magic of chia seeds lies in their ability to transform into a creamy, gelatinous texture when soaked, creating a pudding that’s both delicious and packed with fiber, omega-3 fatty acids, and antioxidants. It’s a nutritional powerhouse disguised as a delightful treat!
This recipe is truly a blank canvas. Feel free to get creative with your toppings! Fresh berries, sliced bananas, toasted nuts, a drizzle of honey or maple syrup, or a sprinkle of cinnamon can all elevate your pudding experience. For a richer flavor, try incorporating a splash of vanilla extract or a pinch of cardamom into the base mixture. Experiment with different milks too – coconut milk, almond milk, or even oat milk will yield slightly different but equally delightful results.
I genuinely encourage you to give this chia seed pudding a try. It’s an effortless way to start your day with sustained energy or to curb those afternoon cravings with something wholesome. You’ll be amazed at how easy it is to whip up and how much you’ll enjoy this guilt-free indulgence.
Frequently Asked Questions about Chia Seed Pudding:
Q: How long does chia seed pudding last in the refrigerator?
A: Chia seed pudding can typically be stored in an airtight container in the refrigerator for 3 to 5 days. The texture might thicken slightly over time, but it remains perfectly edible and delicious.
Q: Can I make chia seed pudding without milk?
A: While milk is traditional, you can absolutely make chia seed pudding using water or even fruit juice. Using fruit juice will add sweetness and flavor, but be mindful of the sugar content. Water will result in a less creamy but still functional pudding base.
Chia Seed Pudding Recipe
A simple and healthy chia seed pudding, customizable with your favorite milk and sweetener.
Ingredients
-
3 tablespoons chia seeds
-
1 tablespoon maple syrup
-
1 teaspoon vanilla extract
-
3/4 cup almond milk
-
1/4 cup raspberries
-
2 tablespoons granola
Instructions
-
Step 1
In a bowl or jar, combine the chia seeds, maple syrup, and vanilla extract. -
Step 2
Pour in your milk of choice. Stir well to ensure the chia seeds are evenly distributed and not clumping. -
Step 3
Let the mixture sit for 5 minutes, then stir again to break up any clumps that may have formed. -
Step 4
Cover the bowl or jar and refrigerate for at least 2 hours, or preferably overnight, until thickened. -
Step 5
Once thickened, stir the pudding. Spoon into serving dishes. -
Step 6
Top with fresh raspberries and granola for added flavor and texture.
Important Information
Nutrition Facts (Per Serving)
It is important to consider this information as approximate and not to use it as definitive health advice.
Allergy Information
Please check ingredients for potential allergens and consult a health professional if in doubt.