Lucky St-Patrick’s Day Desserts-Green Recipes
St. Patrick’s Day Desserts are more than just sweet treats; they’re a vibrant celebration of Irish heritage and a delightful way to embrace the festive spirit of March 17th! We all love how these emerald-hued delights transform our tables into a cheerful spectacle, bringin extractg a touch of whimsical magic to any gathering. What makes them truly special is the perfect blend of iconic flavors and eye-catching presentation, often incorporating classic Irish ingredients or simply donning their finest green attire. Whether you’re aiming for a show-stopping centerpiece or a simple, satisfying bite, these St. Patrick’s Day Desserts offer a delicious escape. Get ready to discover recipes that will have everyone singin extractg your praises and perhaps even doing a little jig!
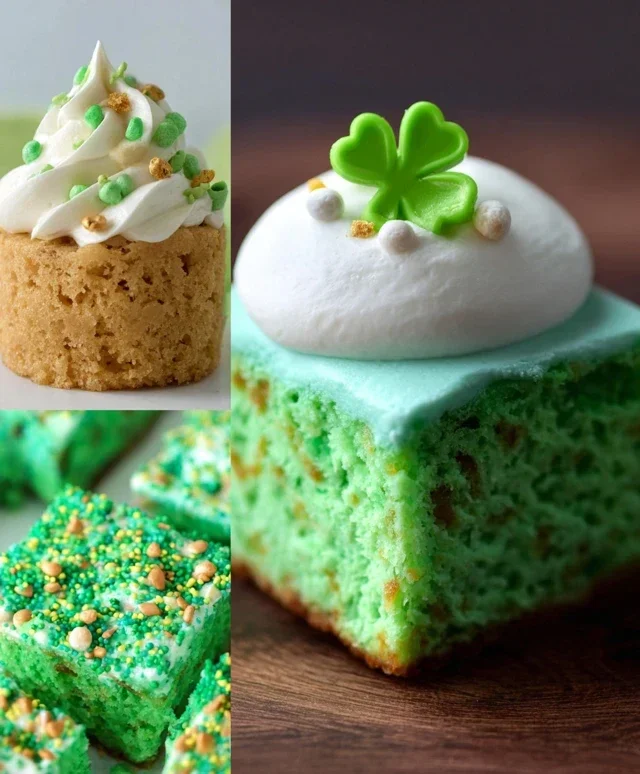
A Little Luck of the Irish: Delightful St. Patrick’s Day Desserts
This St. Patrick’s Day, let’s add a touch of emerald magic to our celebrations with some truly delightful desserts. Forget the standard green-dyed everything; we’re talking about treats that capture the spirit of the holiday with delicious flavors and a playful nod to Irish traditions. Whether you’re hosting a big gathering or just want to treat yourself to something special, these recipes are sure to bring a smile to your face and a skip to your step. I’ve picked out a couple of my absolute favorites that are both visually appealing and incredibly tasty.
Rainbow Brownies: A Pot of Sweetness
These rainbow brownies are a fantastic way to bring a vibrant burst of color to your St. Patrick’s Day table. They are surprisingly simple to make and offer a delightful surprise with every bite. The rich, fudgy brownie base is complemented beautifully by the sweet, chewy layers of rainbow chips.
Ingredients:
Instructions:
1. Prepare Your Pan and Preheat the Oven: First things first, preheat your oven to 350 degrees Fahrenheit (175 degrees Celsius). This is a crucial step for ensuring your brownies bake evenly. Then, line a 9×13 inch baking pan with parchment paper, leaving some overhang on the sides. This makes it super easy to lift the baked brownies out of the pan for cutting later. Grease the parchment paper lightly as well to prevent any sticking.
2. Mix the Wet Ingredients: In a large bowl, whisk together the melted butter and granulated sugar until well combined. The mixture should be smooth. Next, beat in the four large eggs, one at a time, ensuring each egg is fully incorporated before adding the next. Stir in the vanilla extract. If you’re opting for a subtly green tint in your brownie base, now is the time to add a few drops of green food coloring and stir it in until you achieve your desired shade. Don’t overmix at this stage; we just want everything to come together nicely.
3. Combine the Dry Ingredients: In a separate medium bowl, whisk together the all-purpose flour, unsweetened cocoa powder, baking powder, and salt. Whisking these dry ingredients together helps to distribute the leavening agent (baking powder) and cocoa evenly, preventing pockets of unmixed ingredients in your final brownies.
4. Marry the Wet and Dry: Gradually add the dry ingredients to the wet ingredients, mixing on low speed or with a spatula until just combined. Be careful not to overmix the batter at this point. Overmixing can develop the gluten in the flour too much, resulting in tough brownies. We’re aiming for a fudgy texture, so a light touch is best.
5. Fold in the Rainbow Chips and Bake: Gently fold in the rainbow chips until they are evenly distributed throughout the batter. If you’re using green and white chips, the contrast will be lovely. Pour the batter into the prepared baking pan and spread it out evenly. Bake for 25 to 30 minutes, or until a toothpick inserted into the center comes out with moist crum extractbs attached (not wet batter). This indicates they are perfectly baked for that desirable chewy, fudgy center. Let the brownies cool completely in the pan on a wire rack before cutting them into squares. This cooling period is essential for the brownies to set properly and makes for cleaner cuts.
Mint Chocolate Chip Cookie Cups: A Refreshing Bite
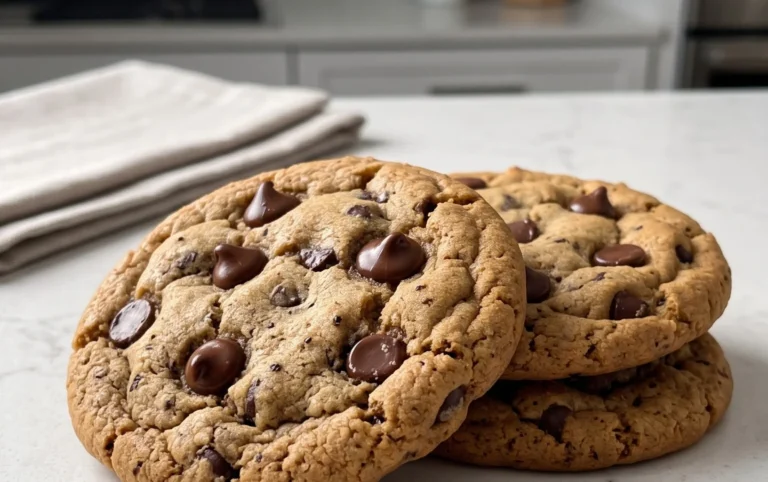
These mint chocolate chip cookie cups are a delightful twist on a classic, perfect for a refreshing St. Patrick’s Day treat. The cool mint flavor combined with rich chocolate is a winning combination that everyone will love.
Ingredients:
Instructions:
1. Cream the Butter and Sugars: In a large mixing bowl, cream together the softened unsalted butter, granulated sugar, and packed light brown sugar using an electric mixer on medium speed until the mixture is light and fluffy. This process incorporates air into the batter, which contributes to the cookies’ texture. Scrape down the sides of the bowl occasionally to ensure everything is well combined.
2. Add Eggs and Extracts: Beat in the two large eggs, one at a time, until fully incorporated after each addition. Then, stir in the vanilla extract and the crucial peppermint extract. The peppermint extract is what gives these cookie cups their signature refreshing minty flavor, so don’t skip it!
3. Combine Dry Ingredients: In a separate medium bowl, whisk together the all-purpose flour, baking soda, and salt. Whisking the dry ingredients helps to evenly distribute the baking soda and salt, ensuring a consistent rise and flavor in your cookies.
4. Gradually Mix Dry into Wet: Gradually add the dry ingredients to the wet ingredients, mixing on low speed until just combined. Again, be careful not to overmix. Stop mixing as soon as you no longer see streaks of flour. Overmixing can lead to tough cookies.
5. Incorporate Chocolate Chips and Form Cookie Cups: Stir in the semi-sweet chocolate chips by hand or on the lowest mixer speed until they are evenly distributed throughout the dough. Preheat your oven to 375 degrees Fahrenheit (190 degrees Celsius). Lightly grease a mini muffin tin. Drop rounded tablespoons of dough into each cup, pressing them down slightly to create a small indentation in the center – this is where the melted chocolate will nestle. Bake for 9 to 11 minutes, or until the edges are lightly golden and the centers are still slightly soft. Allow the cookie cups to cool in the tin for a few minutes before carefully transferring them to a wire rack to cool completely.
6. Melt and Drizzle: Once the cookie cups are completely cool, melt the green candy melts or green chocolate chips according to package directions. You can do this in the microwave in short intervals, stirring every 30 seconds, or in a double boiler. Once melted and smooth, drizzle the green chocolate over the cookie cups. If you have green sprinkles, this is the perfect time to add them for an extra festive touch. Let the chocolate set before serving. Enjoy these delightful, refreshing treats!
Conclusion:
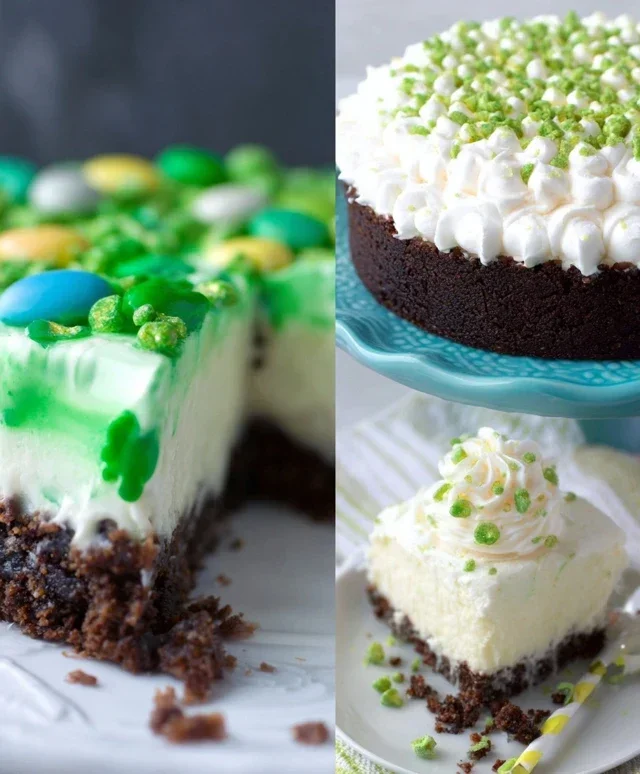
I hope you’ve enjoyed exploring these delightful St. Patrick’s Day desserts! These recipes are a fantastic way to add a touch of festive cheer and vibrant green to your celebrations without being overly complicated. From the rich creaminess of the green velvet cupcakes to the playful crunch of the rainbow bark, there’s something here to satisfy every sweet tooth and impress your guests. They’re perfect for sharing at a family gathering, bringin extractg to a potluck, or simply enjoying as a personal treat. Don’t be afraid to get creative with your decorating – think edible gold coins, sbeef hamrock sprinkles, or a dusting of powdered sugar for an extra magical touch.
I truly encourage you to give these St. Patrick’s Day desserts a try! They are surprisingly adaptable. For instance, you can easily swap out flavor extracts or food coloring to create your own unique color pnon-alcoholic alette or taste. Consider serving these treats alongside a warm mug of coffee or a refreshing glass of milk. They also pair wonderfully with a scoop of vanilla ice cream or a dollop of whipped cream. Remember, the most important ingredient is the joy you put into making them!
Frequently Asked Questions:
Can I make these desserts ahead of time?
Absolutely! Most of these St. Patrick’s Day desserts can be made a day or two in advance. Cupcakes, for example, can be baked and frosted the day before your event. Cookies can be baked and stored in an airtight container. For items like the rainbow bark, it’s best to make them closer to when you plan to serve them to ensure optimal crispness, but they can certainly be stored for a few days.
What are some non-green St. Patrick’s Day dessert ideas?
While green is traditional, you don’t have to stick to it! Think about incorporating gold colors with caramel or yellow frosting. You could also focus on classic Irish flavors like whiskey extract or Irish cream in your desserts. Simple chocolate treats are always a crowd-pleaser, and you can always add a few sbeef hamrock sprinkles for a subtle nod to the holiday.
Are these recipes suitable for begin extractners?
Yes, I’ve aimed to keep these recipes accessible for bakers of all skill levels. Many involve straightforward mixing and baking techniques. The decorating can be as simple or as elaborate as you like, making them perfect for both begin extractners and experienced bakers to enjoy.
St. Patrick’s Day Lucky Charm Bark
A festive and easy no-bake bark with a sweet and salty crunch, perfect for St. Patrick’s Day celebrations.
Ingredients
-
1 cup white chocolate chips
-
1/2 cup semi-sweet chocolate chips
-
1/4 cup crushed pretzels
-
1/4 cup Lucky Charms cereal (marshmallows only)
-
1 tablespoon green sprinkles
Instructions
-
Step 1
Line a baking sheet with parchment paper. -
Step 2
Melt the white chocolate chips in a microwave-safe bowl in 30-second intervals, stirring in between, until smooth. -
Step 3
Pour the melted white chocolate onto the prepared baking sheet and spread into a thin, even layer. -
Step 4
Melt the semi-sweet chocolate chips using the same microwave method. -
Step 5
Drizzle the melted semi-sweet chocolate over the white chocolate layer. -
Step 6
Immediately sprinkle the crushed pretzels, Lucky Charms marshmallows, and green sprinkles over the chocolate before it sets. -
Step 7
Place the baking sheet in the refrigerator for at least 30 minutes, or until the chocolate is completely firm. -
Step 8
Once set, break the bark into pieces.
Important Information
Nutrition Facts (Per Serving)
It is important to consider this information as approximate and not to use it as definitive health advice.
Allergy Information
Please check ingredients for potential allergens and consult a health professional if in doubt.